HOME | DD
 calthyechild — Tolkien-style Map Brushes
by-sa
calthyechild — Tolkien-style Map Brushes
by-sa
#cartography #fantasy #lotr #map #mountain #tolkien #trees #tolkienmap #how_to_make_a_fantasy_map #fantasy_map_brushes #photoshop_brushes_fantasy_cartography #tolkienfanart #fantasy_map_maker
Published: 2009-10-01 00:17:27 +0000 UTC; Views: 286923; Favourites: 2803; Downloads: 65069
Redirect to original
Description
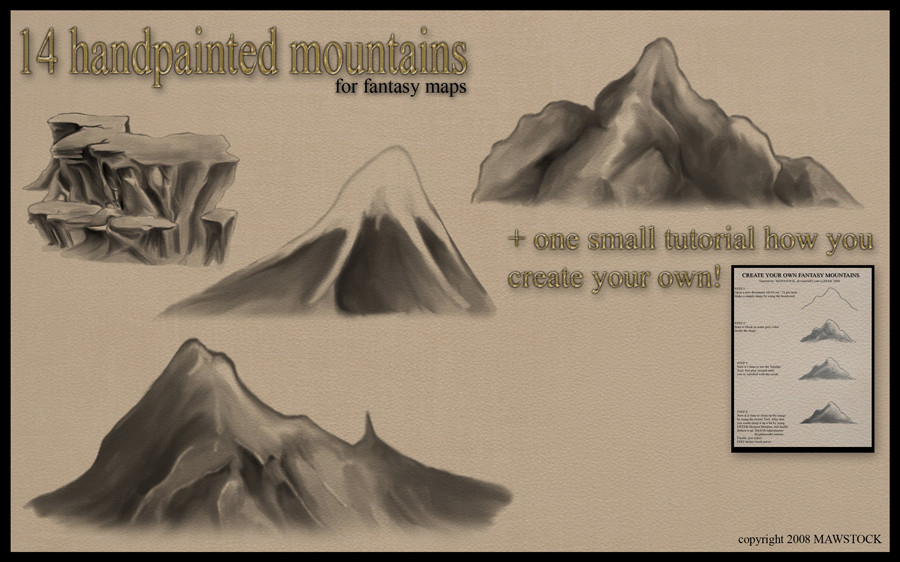
14 MORE MOUNTAINS HERE: calthyechild.deviantart.com/ar…Image pack HERE: calthyechild.deviantart.com/ar…
EVEN MORE ICONS, PLUS A FONT, PLUS TEXTURES, PLUS CONTINENTS AND A TUTORIAL FOR HOW TO MAKE YOUR OWN MAPS HERE: calthyechild.deviantart.com/ar…
All the free fantasy map generator related things I could find: feedthemultiverse.com/free-fan…
Realized you made a horrible mistake by trying to make your own map? My fantasy map portfolio is available at www.feedthemultiverse.com and I am available for hire.
")
converted this and the "I want more mountains" brush set for the GIMP with my permission and can be found here. thewhitecrayon.deviantart.com/…
Someone on Reddit converted these to WONDERDRAFT BRUSHES! www.reddit.com/r/wonderdraft/c…
Yes, you too can convert them to any program you would like and if I find them or you send em to me, they will be added.
It has come to my attention that this post shows up when you search for "How to make a Wondermap Map Brush" probably because of that comment above. The answer to how to make a wonderdraft map brush of course WAS NOT ANSWERED in this listing... UNTIL NOW. If you came here hoping for the answer to that question, here you go:
How to make a Wonderdraft Brush
First get a png of the brush you want. All Wonderdraft assets must be png files, nothing else will work. Now you must place it in the right spot in the Wonderdraft folder. Where I write "NAME-OF-PACK" name the group of brushes. For example you might put my brushes in a file labeled "Tiffany Munro" "Calthyechild" or "Feedthemultiverse". Where I write NAME-OF-ITEM-TUBE, this will be named after the GROUP of items that you are placing in that folder. For example, "Pine trees" "Palm trees" "Volcanoes" etc as the program will cycle through those images as you use the brush.
To make a BRUSH for landscape/sea texturing, place it in the primary Wonderdraft folder, that is C/(your username)/Roaming/Appdata/Wonderdraft/brushes/NAME-OF-PACK/(image files go here)
To make a TREE brush, place it in C/(your username)/Roaming/Appdata/Wonderdraft/assets/NAME-OF-PACK/sprites/NAME-OF-TREETUBE/(image files go here)
For the tree brush if you put multiple files in that folder, you can repeatedly put down several trees.
To make a MOUNTAIN brush, place it in C/(your username)/Roaming/Appdata/Wonderdraft/assets/NAME-OF-PACK/sprites/mountains/NAME-OF-MOUNTAIN-TUBE/(image files go here)
Mountain brushes are like tree brushes, you can put multiple in here.
To make a SYMBOL brush, C/(your username)/Roaming/Appdata/Wonderdraft/assets/NAME-OF-PACK/sprites/symbols/NAME-OF-SYMBOL-TUBE/(image files go here)
Symbol brushes aren't exactly the same but the place they go uses the same logic.
To make a PATH brush: C/(your username)/Roaming/Appdata/Wonderdraft/assets/NAME-OF-PACK/textures/paths/(horizontal looping image files go here)
These must be horizontal looping ribbons or it won't look right. Think of it as like a ribbon being laid out.
To make a TEXTURE fill:
Textures must be a seamless png. No other file type will work. They cannot be resized in the program, so please make them appropriate in size for the sort of texture if it were placed on a printer paper/standard screen map.
Ground textures go here: C/(your username)/Roaming/Appdata/Wonderdraft/assets/NAME-OF-PACK/textures/Ground/(image files go here)
Water textures go here: C/(your username)/Roaming/Appdata/Wonderdraft/assets/NAME-OF-PACK/textures/Water/(image files go here)
How to make a Wonderdraft frame:
Make a square png that is the full round of the frame with all sides/corner icons in place. Then place it here: C/(your username)/Roaming/Appdata/Wonderdraft/assets/NAME-OF-PACK/textures/Frames/(image files go here)
Want more Wonderdraft and DungeonDraft tools? Have money? My paid assets can be found on Cartography Assets! Check them out for Wonderdraft appropriate tools! cartographyassets.com/creator/…
Want assets for Roll20? marketplace.roll20.net/browse/…
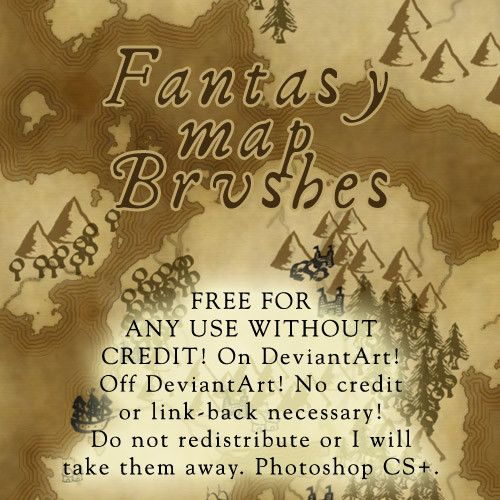
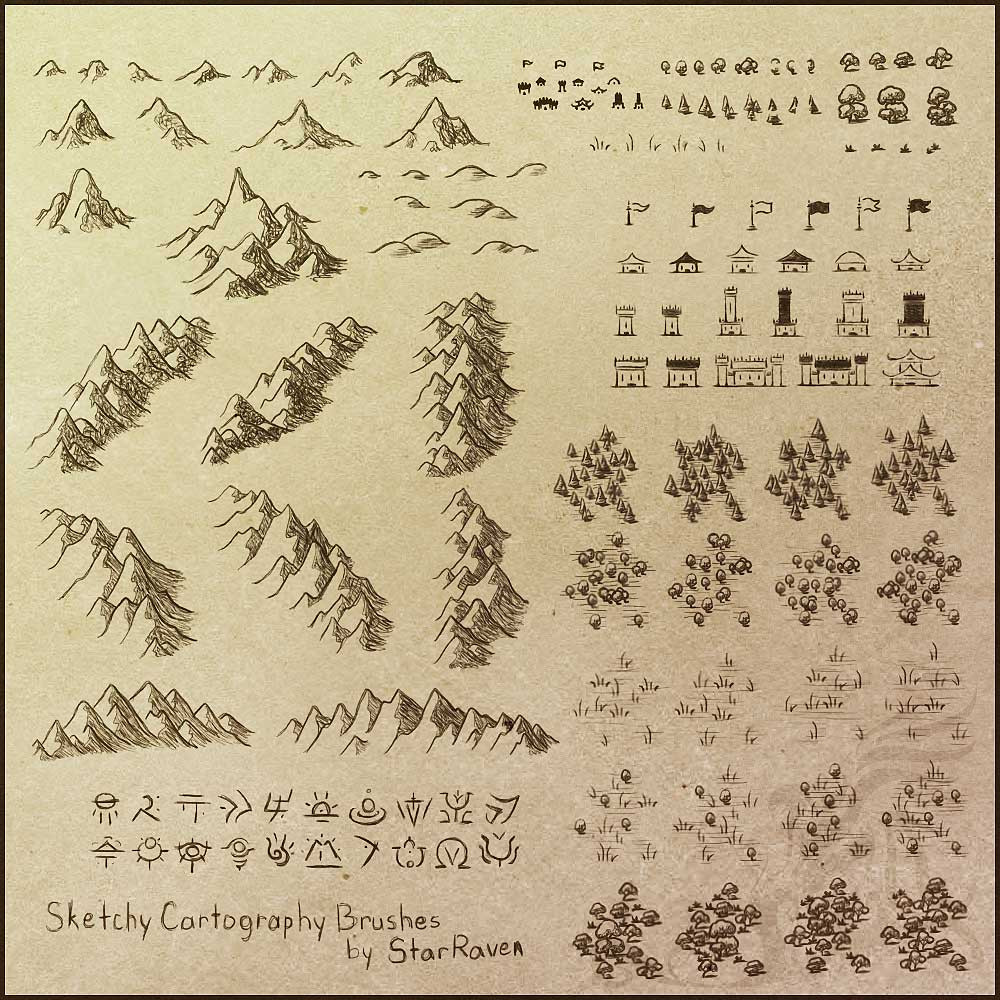
Have you ever wanted to make a FANTASY MAP and been too lazy to make your own vaguely mountain and treeish shaped blobs?!?!?! NOW YOU TOO CAN MAKE A FANTASY MAP! Includes VAGUELY TRIANGULAR SHAPED BLOBS MASQUERADING AS MOUNTAINS! VAGUELY TRIANGULAR AND HAIRY SHAPES PRETENDING TO BE TREES! CIRCLES WITH A LINE ON THE BOTTOM PRETENDING TO BE A TREE! TERRIBLE-QUALITY HOUSE-ISH SHAPES! A DREADFUL LOOKING COMPASS ROSE! A FEW GRASS SHAPED BLOBS! AN ABSOLUTELY USELESS PILE OF ROCKS! AND MANY MORE SHAPES THAT YOU WILL PROBABLY NEVER USE BUT YOU'LL DOWNLOAD ANYWAY!!!!!
Woot! I probably spent no more than 30 seconds on each brush. >_> It's up to you to add scatter effects and figure out how to use them.
As usual: free for use for absolutely everything and anything you feel like, EXCEPT for redistributing the brush pack (unless you converted it to another program and credited me). Yes! Use them commercially! Use them in your comic! Use them in your novel! Use them on your head! Don't credit me if you don't want to! Don't show me if you're too lazy or think it's awful! (but I will fave what's done with my brushes on DeviantArt if I am alerted to its presence.) Edit: I have seen my brushes show up seriously so many times since I made them (it's 2019 at the time of this edit) and all I've ever done is comment "omg I made those hi." Fear nothing, make maps.
If you want to support me, please link to my fantasy map portfolio at www.feedthemultiverse.com or my comic at www.stargazersgate.com .
A fave if you use them, might use them, or like them would be awesome.
Related content


Comments: 293

You're welcome. Don't forget to check out my most recent deviation, a map tutorial plus EVEN MORE MAP BRUSHES!
 (Wink)")
👍: 0 ⏩: 1

 (Smile)")

Used here: [link]
Your pack rocks. <3
👍: 0 ⏩: 0

Aw maaaan don't suppose you have a version of these compatible with PS 7?
")
👍: 0 ⏩: 1
I always include image packs or post them separately. You can feel free to use the images to make your own brush set, and feel free to upload this brush set to DeviantArt with a link back to the original set. Give me the link and I'll add it to the artist comments for others to find. [link]
It's really quite impractical for me to have every program in which brushes might be used so I'm afraid as no one's converted this one to PS7 yet the image pack will have to do. Have fun!
👍: 0 ⏩: 0

Cool! Thanks! I used these brushes here: [link]
👍: 0 ⏩: 0


Howabout Photoshop Elements 8?
Will it work on that?
VAGUE HAIRY TRIANGLE!
👍: 0 ⏩: 1
No clue, but the images are included so if the .abr doesn't load, you can make your own!
VAGUELY HAIRY TRIANGLE HO!
👍: 0 ⏩: 1
Oohhh.. if they don't work, I will do it!
Masquerading as them darn pine trees!
You made me laugh so hard when I read all of that.
")
👍: 0 ⏩: 0

Oh. My. God. You're a legend! I've just downloaded and will definitely 100% use these. Thank you sooo much!

👍: 0 ⏩: 1
Heeheeheee... there are better map brush sets, really, so I'm not too legendary. Just a little. Teeny. Tiny bit. But you're welcome, have fun!
👍: 0 ⏩: 0

Thanks for these amazing brushes! ^^
[link] Used here
👍: 0 ⏩: 0

This is charming . Thanks for making it.
But the map tutorial page is no longer exist.
👍: 0 ⏩: 1
This is a little late, but here:
[link]
I've made my own map tutorial since the one I link to is gone, as well as bonus brushes.
👍: 0 ⏩: 1
Awesome .
Thank you very much for telling me. That's very nice of you.
👍: 0 ⏩: 0

Used your brushes here [link]
Thank you very much
👍: 0 ⏩: 0

Could certainly be useful! - Thanks for these!!!

👍: 0 ⏩: 0

omG this is awesome! Thank you soooooooo much!!!
👍: 0 ⏩: 0

I can't believe I didn't find this earlier! Thank you!
👍: 0 ⏩: 1
Well, I'm a bit of an obscure brush-maker. You're welcome!
👍: 0 ⏩: 0

Okay, I am TOTALLY using this. This is AMAZING.
👍: 0 ⏩: 1
Thanks, man. You're welcome!
👍: 0 ⏩: 0

I am actually in the midst of writing my novels and wanted to redraw the original map I made 20 years ago (based on one I initially drew over 35 years ago!)
I decided to do it in photoshop, I am using pretty fine details. My continent is the size of Eurasia - the borders are 3 pixels, the map is a HUGE file, the scan alone was 75 megabytes... I am using your mountains brushes usually set between 15 pixes and they still keep decent detail. Obviously it is going to take me forever to finish... but then again I am patient. (I am already 200k words into my first novel of 7).
The map is so important to me so I cannot express my gratitude enough for all your great brushes! I wish there were more... none of the others I have found measure up to yours. Thank you, thank you, thank you! I will post it when I am done.
👍: 0 ⏩: 0


On the right sidebar (on the right of the sample image) there's a button that says download.
👍: 0 ⏩: 1


These are awesome.....I will be using them immediately.
👍: 0 ⏩: 1
Hope you found good use of them.
👍: 0 ⏩: 1
6000 people can't be wrong! Don't forget the extra mountains.
👍: 0 ⏩: 0

Billant work! I will use them. Thanks a lot
👍: 0 ⏩: 1
Hope you made something great! You're welcome!
👍: 0 ⏩: 0

The site died D: Well I was wondering how you did the backgrounds? o.o
👍: 0 ⏩: 1
It didn't die. It just seems he's made a flash site that prohibits direct linking. [link] Click tutorials.
But basically, what I did was set my background to white and my foreground to black, and rendered clouds a few times. From that, I used threshold, making this mass of black and white jagged stuff. I used the black to assemble the landforms, going through it and piecing through to make the shapes I wanted. You could also just hand draw a country shape with black on white, and Photoshop it (use Threshold) to make sure that the only colors in there are black and white.
Because this map was a parchment map, I made my seas a beige and land a different shade of about the same color, but you could also use green and blue or whatever color floats your boat.
Anyway, once you have the solid black and white map, make an Alpha channel. Select all, copy, click on the channels tab, make a new alpha layer, then click paste. Go back to the layers tab, fill in your land (or sea) color. Go back to the channel tab and then hold control and left click on the alpha channel. This will select. Go back to the layers, make a new layer, and then hit edit, stroke, and make your stroke a one pixel stroke of whatever color would fit your map. This way you can see the lineart. I usually duplicate this and then give it a bit of a gaussian blur. To get the line effect around the seas, I just expand the selection by 5-10 pixels and stroke it again, generally around five times, a bit more transparent each time.
Then I find a nice parchment texture and put that over it all as an overlay layer, and that's how you get the basic parchment map.
The tutorials will explain this all in much greater detail, with pictures, so I definitely encourage you to check them out.
👍: 0 ⏩: 0

OMG finally, thank you!
This made me look like this --->
👍: 0 ⏩: 1
Well hey, I look like
👍: 0 ⏩: 0


too bad I just got done hand-drawing my map. I'll probably still use these sometime, though.
it's really great of you to do this.
👍: 0 ⏩: 1
Hahaha, I'm sure a handdrawn map beats out these crappy brushes any day! I scribbled them out in a few minutes, though I did use them for my own maps... it did speed up the process quite a bit! I'd love to see it anyway, if you want to share... >_> I do love seeing hand drawn maps! Brings back memories of epic fantasy novels.
👍: 0 ⏩: 1
it's in mah gallery!
👍: 0 ⏩: 0

Thanks! The love is appreciated.
👍: 0 ⏩: 0
<= Prev | | Next =>