HOME | DD
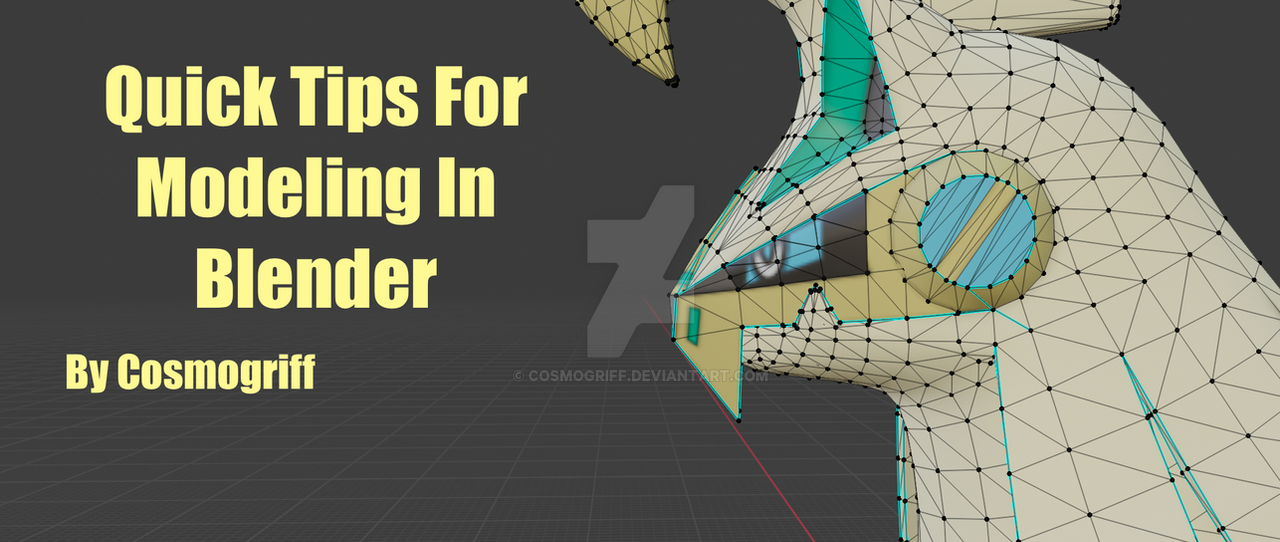
 Cosmogriff — Quick Tips For Modeling In Blender
#armature #blender #meshing #modeling #textures #tutorial #uv
Published: 2021-12-16 12:03:30 +0000 UTC; Views: 1717; Favourites: 12; Downloads: 0
Redirect to original
Description
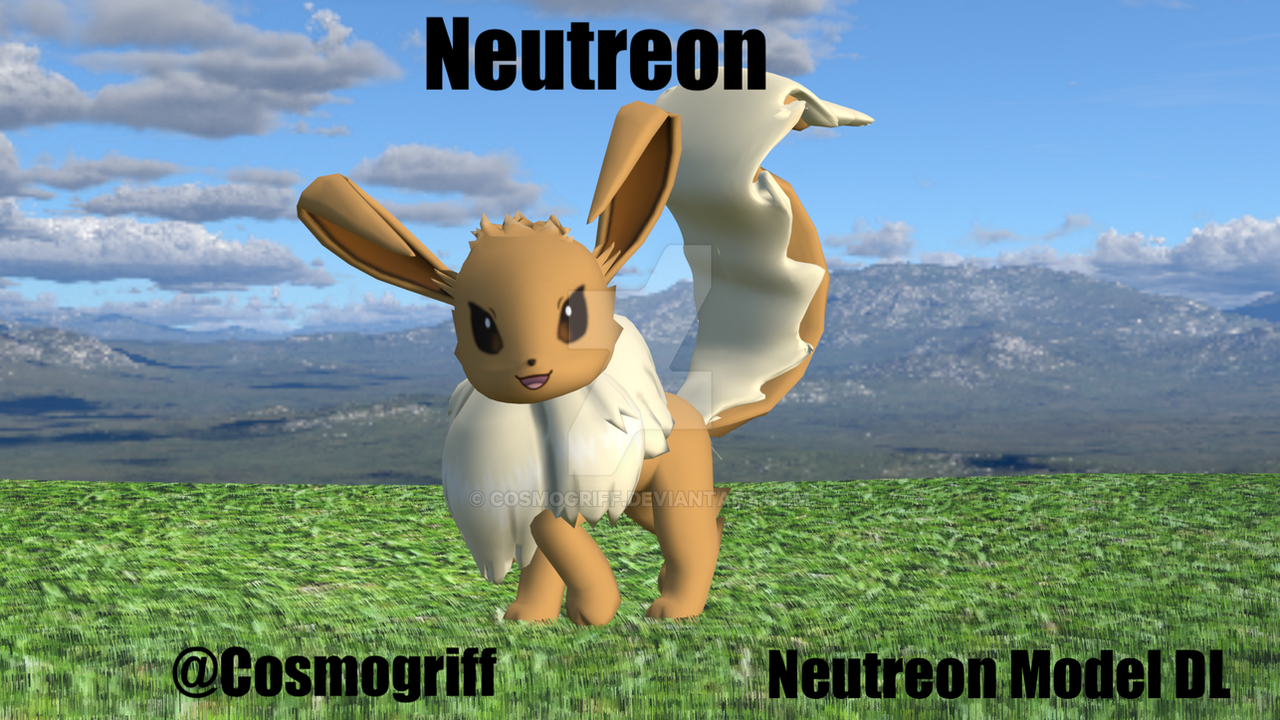
Quick Tips For Blender Modeling1. Before making your modelIt is always useful to know exactly what is your model like. This will save you a lot of time in the process of making the model and the textures. If you are designing a model, make a concept art of the model you are making and list out all the elements of the models such as the hands, feet, clothes, whatever you might need to include in the model. Don’t forget to list out the facials. Examples of concept art,You could also find a bunch of screenshots as reference for your model if you are too lazy to draw.2.MeshingThere are two mains ways that I use to make models, which are:-Edits (more commonly)-Modeling from scratch Edits are perfect for those who want to make a model that resembles already available model (Wyrdeer is an edit of Stantler and Neutreon is an edit of Eevee). It saves lots of time modeling, armature making, UV unwrapping and weight painting. If your model doesn’t really resemble any available model, you might need to model it yourself from the ground up. Or you are really hardy you could use a model and deform it in some way to get the target model (Basculegion from Basculin) For the modeling process, I advise you to create separate meshes and merge them later on (like tails, horns, fur). It will be feasible to mirror them and the chance of screwing up will be lower. If your mesh has to be connected to the mesh directly you could “stitch” the meshes together like a Frankenstein. Only merge the loose meshes after you’ve done the weight painting and sometimes after UV unwrapping (I’ll explain why later). ,ABOVE: Stitching meshes together. If your model comes triangulated, select everything and merge tris to quads to enable better editing. It will be easier if you just edit one side and mirror to the other one, although there are some drawbacks. Number 1 is your model’s weight painting will be messed up. Number 2 is your UV map will be folded into half. However, that won’t be a problem if you started from scratch. Another tip is when you are editing the model, take the parts you would might select/edit a lot and assign them to a separate material. This will make it easier for you so you don’t need to keep selecting the same mesh over and over again and it makes UV unwrapping easier. After the meshing process, you might find there will be really weird shading. If that happens, check for double vertices and faces. Then, select everything and select Smooth Shading. If your model has flat sides, select the edges you want to be sharp and select mark sharp.3. ArmatureIf your model is an edited one, go ahead and add or delete the bones you want in edit mode. It is more convenient if you just copied and pasted an existing bone and moved it to the position you wanted. If you are starting from scratch, make one side of the armature and mirror to the other. Note that after editing, assign your mesh to your armature again with empty groups.Also if you like, set all the bone rolls to 0 degrees using Bone Roll/Clear Roll.4. Weight paintingWeight painting is a tough job. If your meshes are still separated, good because when you weight paint those parts you won’t mess up the weight painting for the other parts. If you want your weight painting be nice and smooth try weight painting using gradient. Here’s some simple steps when using gradient to paint.,STEP 1: Enter weight paint mode. Select gradient and set weight to 1. Enable mirror axis for better symmetrized weight. In this case I've chose axis X.,STEP 2: From one end slowly make a gradient until the end of your desired bone is red.,STEP 3: Set Weight to 0 and again slowly set the other end to 0 like the picture above.Make sure that the part with the heaviest weights is at the end of the bone. After you are done, test out the weights by posing the bones in a wave shape,5. UV unwrappingBefore UV unwrapping in Blender, you need to know exactly how you want your textures to go on the model. Done that? Good. Now mark the seams of the edges you want. Then, check the UV Map for any errors. Make the UV-mapped parts that you want to have more detailed texture bigger. If you have problems UV unwrapping some weird edited meatball shape with too many vertices try Project from view (At least it works for me but it is not professional).6. Texture paintYou might need to export the UV map and use a picture editing program like GIMP 2.0 or MS Paint. Normally the dimensions for the textures of Pokemon 3DS models are 512x256 and Switch models are 1024x1024 (after mirroring). If you are making the eye textures from scratch, you could do some markings on the mesh in Blender, export the textures and edit in the editing program. Start from an eye base and iris (if needed), then duplicate them, edit them to make the basic 7 eye facials which are Normal, Half Closed, Closed, Hurt, Angry, Happy and Sad. Fill the extra spaces with red. About the mouths facials I am not sure how they are exactly. So do find various references yourself for that.7. Other thingsTo those who have separate meshes and want to merge them together after texture painting DO NOT DO IT, because I found out that if you do the UV map will reset itself. The only way to merge all the meshes without losing the UV map is you export it to .pmx format beforehand. When your model is exported to .pmx format it will automatically merge all the meshes together without resetting the UV map. Here’s most of the tips I can give you in this journal. There are so many I want to say but I couldn’t write them here but I’ll release simple picture-based tutorials about modeling. Stay tuned!Read the journal!