HOME | DD
 Bergie81 — History Robot ChipReader
Published: 2009-04-10 16:40:29 +0000 UTC; Views: 3464; Favourites: 20; Downloads: 105
Redirect to original
Description
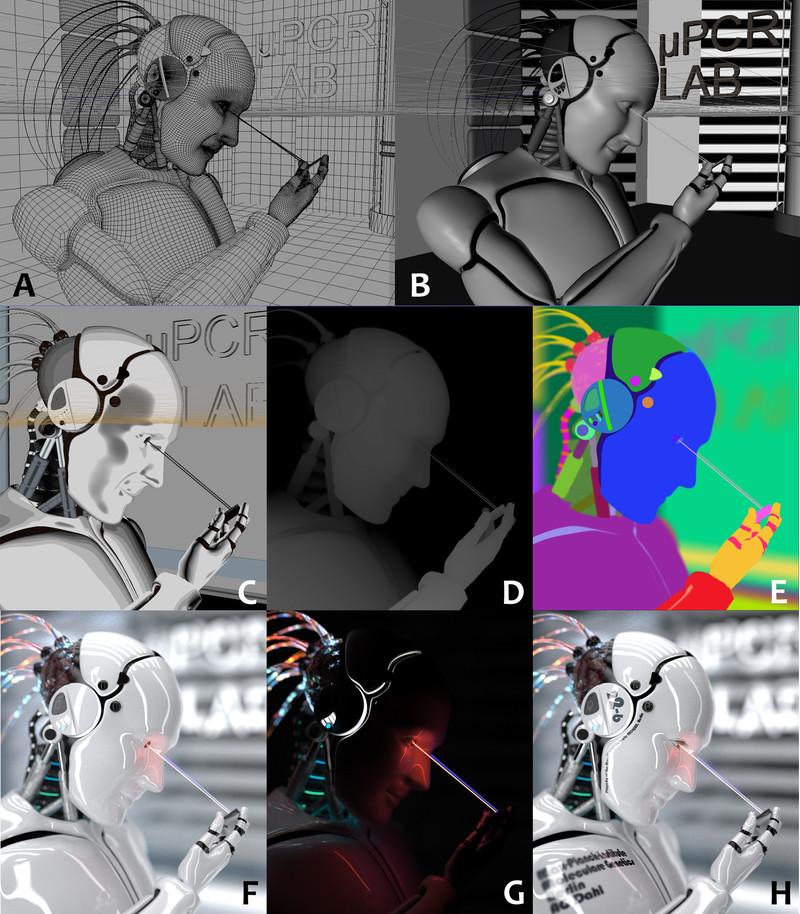
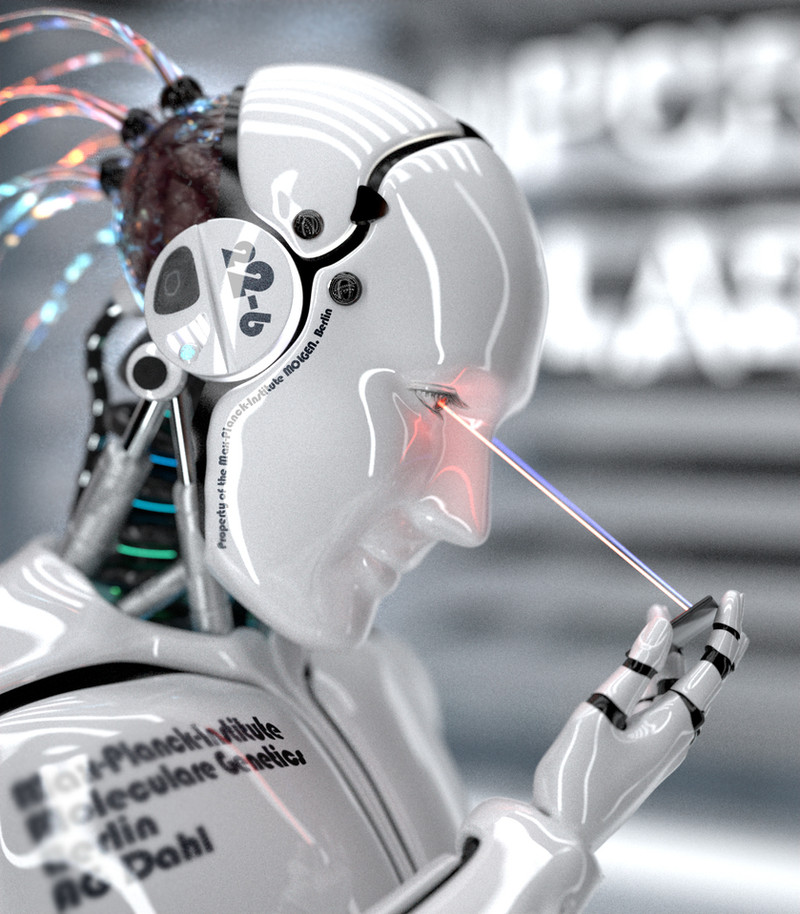
History of the ChipReader RobotHere I wanna give you an overview of the workflow that resulted in the “Robot ChipReader” (frame H).
After modeling the robot and the background in Cinema4D [A - Wireframe Mode, B - Shaded Mode] I exported the project to Maxwell Render (a great external rendering engine – the inbuilt render engine of Cinema4D is not really famous for mind-blowing results).
By this rendering program I applied designed/downloaded materials and light sources to the scene [C - Toon Shaded – unfortunately it doesn’t show a good preview of the materials] and defined the camera position and its focus (depth of field).
After starting the rendering it saved a frame with the depth information [D - called “z-Buffer”: the bigger the distance of an object to the camera the darker it will appear] to play around with the camera focus even after rendering.
Also a frame for the objects was outputted [E - object-ID]. It helps masking the different objects in the picture to change the attributes of the materials (color, reflectivity,… ) afterwards.
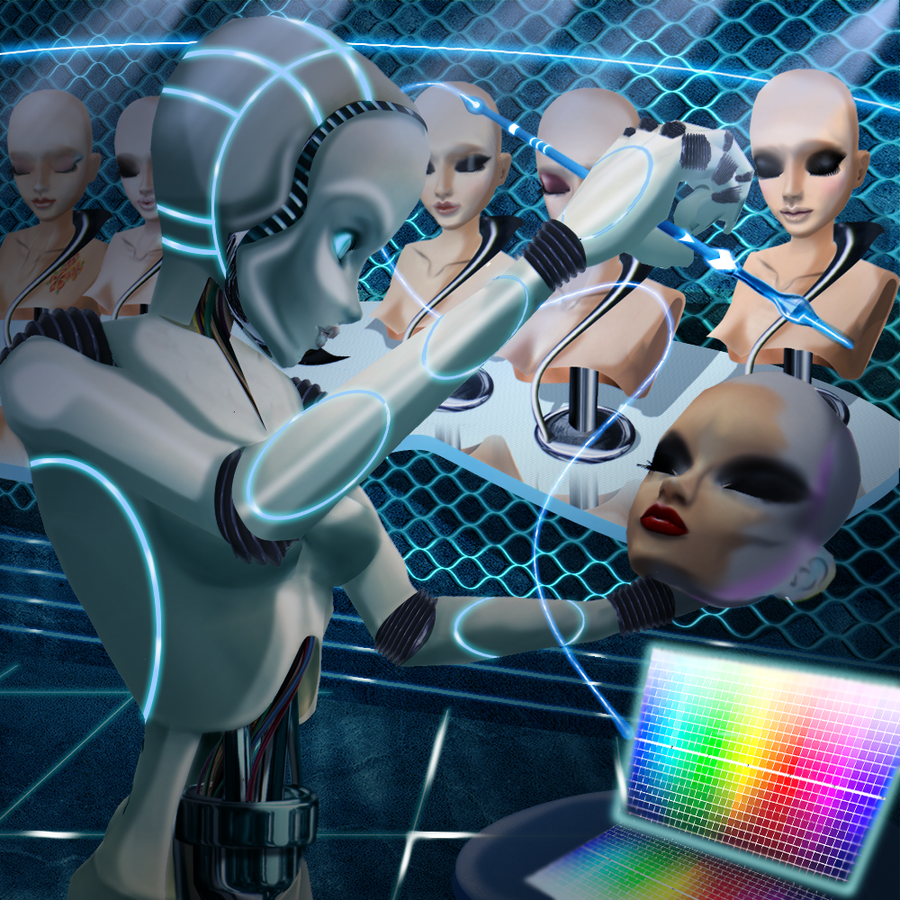
While and after rendering it is possible to change to the intensities of the used light sources [F – final picture; G – another light setting of the same frame]. You can also create a light animation by switching on and off the emitters on a timeline. Every resulting frame is saved and can be composed to an animation (I used this feature for another robot scene a few weeks ago: [link] have an external look!).

Ok, I hope you enjoyed this summary of my workflow.
Don’t be shy to ask me. SEE YOU!

Related content


Comments: 10


what software did you use to create the robot was it Maya?
👍: 0 ⏩: 1

the text below explains everything...
I used Cinema 4D
👍: 0 ⏩: 0


could u do a step by step guide to how u made the robot.i would love to have a go of making it.
👍: 0 ⏩: 1
I guess this workflow shows enough details.
I admit that the model isnt the best one and further not up-to-date anymore. I upgraded it a lot since i posted this artwork one year ago (new result here: [link] ). I corrected the polygon count concerning the face and torso, and added more details like the eyes. (see eyes here: [link] ).
when you want to make a replicate, feel free to do so - as long as you dont use it for commercial stuff. Further dont use the writing on the head and the chest ("max-planck...") or any related symbols. thats all under copyright.
The rest is up to you! would be interesting when you add own ideas... send me the link, when you are done!
Have fun
 (Smile)")
👍: 0 ⏩: 0

nice, most of my 3D work looks terrible compared to this hehe, good job
👍: 0 ⏩: 1
Thank you.
Well, everybody starts with some kind of simple artwork. But it is important to learn with every project and avoid mistake that were made in artworks before.
In fact, i am not 100% happy with this robot. there so many details i would not create again or build them in another way...
Keep on, your art isnt that bad!

👍: 0 ⏩: 0
