HOME | DD
 calthyechild —
Fantasy Map TutorialxResources
by

Published: 2011-09-15 22:01:51 +0000 UTC; Views: 178030; Favourites: 3685; Downloads: 12357
Redirect to original
Description
2018 Edit: Too lazy to make your own map? Want yours cleaned up? I take commissions, see Fantasy Map Cartography Portfolio I'm MUCH better at making maps now but I haven't gotten around to creating a new tutorial and this one is still serviceable.


Other versions of brushes:
Converted to Photoshop 7 by here. ithilwenia.deviantart.com/art/…
Converted to Photoshop 6 by here piratelotus-stock.deviantart.c…
Edit: YAY! The obscene amount of work put into this tutorial has paid off with my first DD. THANK YOU!


I'm working on my next ridiculously obscenely over the top resource pack: "Color Me Terrified: Creating the Ambiance of Horror", just in time for Halloween, containing everything you need to make creepy art. It should be live some time in October, so remember to watch.


--
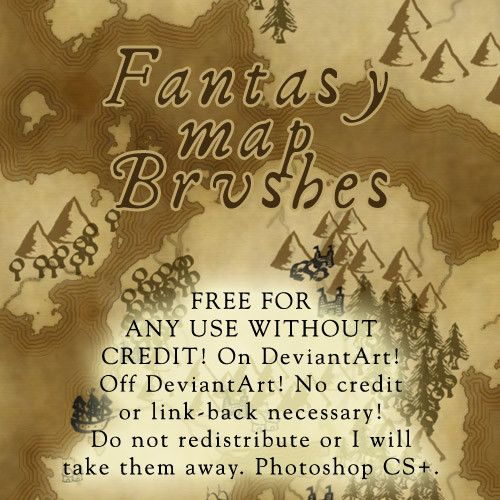
Everything you could ever need to make your own fantasy map: the tutorial (should work with any digital program that supports layers), and all the resources you'll require to follow the tutorial available in a .zip folder. Just hit the download button, and view fullsize for the tutorial.
Please consider giving a fave if you download. I do not require any link/credit or alert rules for use of my resources: though all of this is appreciated, I like a favorite so others can find the resources.
I must give a nod to Jezelf, who made the tutorial from which I leaned to make maps. It's no longer online, and so I've made my own tutorial based on the method of "render clouds" for the jagged coastlines.
Resources in resource pack are not free to DISTRIBUTE, but can be used for any commercial, non-commercial, on/off DeviantArt use you can think of, which will probably be fantasy maps, but hey, if you have some other use for these, by all means.
While everything is free, if you appreciate my resources, please consider tossing a donation through my StayClassy page to NaNoWriMo , the crazed month of November Noveling that keeps me going. Your donation gives me a shot at going to their Night of Writing Dangerously, and keeps the fantasy coming!
DOWNLOAD FOR:
One Tolkien inspired font containing as many European characters as I could fit! It's a crappy font, but you get what you pay for.
One dingbat font containing most of the map icons. I hope you like exploring because they're mapped to both uppercase, lowercase, and symbols with no rhyme or reason whatsoever. The only interesting bit is, the sea serpent pair is on the two "smart" quotes, so if your program doesn't support smart quotes, you'll get the tree or mountain that's on the regular quote, and you'll have to access the sea serpent via alt codes.
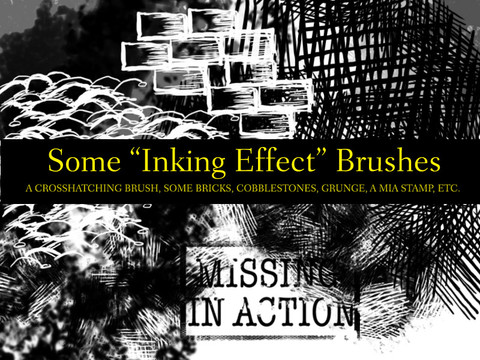
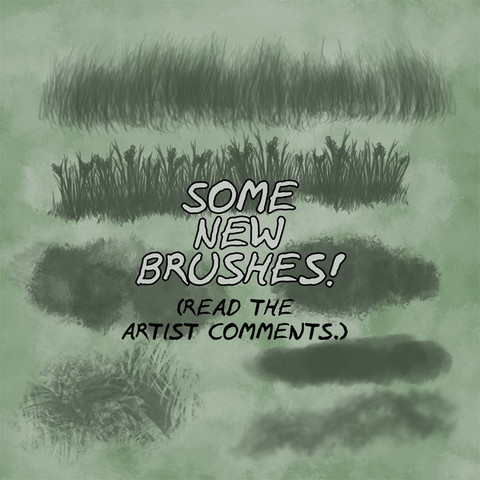
Three Photoshop CS2+ brush sets, which contain all the map icons. All of them are new sketch-style brushes, but can be used with my previous map brush sets.
(The images are included for those without Photoshop. As always, feel free to convert to whatever brush format you would like, upload to DeviantArt with a linkback, and link me to it... I'll add it to the list.)
BRUSHES FOR PHOTOSHOP 7,
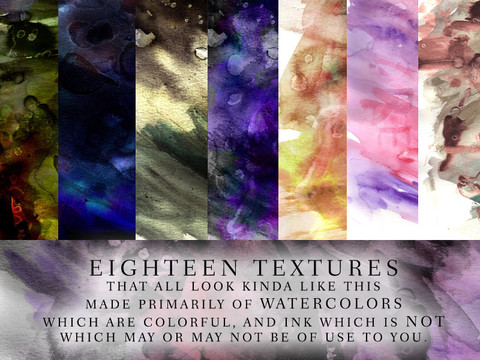
15 parchment-style textures for use as backgrounds.
Two different sets of prefabricated maps, in black and white, lineart, and color for the lazy who just want to get going with the stamps.
Three files of "render clouds" jagged lines for you to assemble into your own continents.
Check out my free fantasy webcomic, Between Places .
Related content
Comments: 314

WOW! Really Wonderful!! Thank-you!
👍: 0 ⏩: 0

Wow. Exactly what I need to create a map for my current fantasy novel! (I keep loosing track of cities etc., so this will really help!).
👍: 0 ⏩: 0
Awesome tutorial! I can't thank you enough.
Used it here: [link]
👍: 0 ⏩: 0

I used the first-half of your tutorial, to do the backdrop of my artwork. [link]
Thanks for the awesome tutorial!
👍: 0 ⏩: 0

this looks great! is there a version for gimp?
👍: 0 ⏩: 1

I personally don't use GIMP, so I couldn't make a GIMP specific tutorial, but I have included the image pack and fonts for all the resources, including some continent shapes for those who can't get "render clouds".
GIMP is quite similar to Photoshop and you should be able to find similar functions. It's a simple tutorial that uses fairly basic image program features that I think will be available in most of the standard programs.
👍: 0 ⏩: 1

Indeed it is, and i found a functioning one. Thanks alot, it's really great!
👍: 0 ⏩: 0

Awesome tutorial! 
used it here: [link]
👍: 0 ⏩: 0

This is amazing!! I might end up needing this very soon for a fantasy thing I'm doing. Thanks so much!
👍: 0 ⏩: 0

Wonderful, thank you.
Used here: [link]
👍: 0 ⏩: 0

Great job you did here. May the force be with you... ohwait...
👍: 0 ⏩: 1

Crap, you've realized my secret! THE FORCE IS STRONG WITH THIS ONE.
>.>
<.<
👍: 0 ⏩: 0

Awesome tutorial and references, used it here! [link]
👍: 0 ⏩: 0

Thank you, this was very useful! Used Here: [link]
👍: 0 ⏩: 0

I think I love you. These are amazing! I'm putting together back story for a new book I'm writing, and these are EXACTLY what I was looking for! Thank you so much for putting this tutorial and all the resources up. <3
👍: 0 ⏩: 0

congratulatiions for your hard work!
👍: 0 ⏩: 0

Amazing guide. Haven't even downloaded yet, and my map looks amazing (too me, at least. Lol). I'm new to GIMP, so although I've heard I can apparently download stuff for PS, I'm not trying till morning. I'm erasing the ends of rivers right now. I'll probably screw up the layers somehow though. Thanks!
Faved!
👍: 0 ⏩: 1

Lol. I messed up the pixels/inch ratio! And now I can't get the rivers to fade right. I got them to fade on the crappy ms paint level px/i, but can't get it right on a larger version... Meh, typical me! You wouldn't happen to have any tips, would you?
👍: 0 ⏩: 0

Thanks man, you've really helped me out here
👍: 0 ⏩: 0

You're welcome! Glad I could help.
👍: 0 ⏩: 0

Thank you for this awesome tutorial! I used it: [link]
👍: 0 ⏩: 0

You're welcome! Thanks for showing me!
👍: 0 ⏩: 0

This could help me, I'm gonna use this later.
👍: 0 ⏩: 1

Where do you go to download this. I can't seem to find it...
👍: 0 ⏩: 1

o.O
On the right hand side of your screen when you have the deviation up (maybe if you have a small monitor or browser you might have to sidescroll) there is a button that says "Download File". It should be right around where it says "Add to Favorites" and "Print Not Enabled" (or maybe I can only see that one, but where the prints button would be).
If you've ever downloaded brushes from Deviantart, it's the exact same button. 
Let me know if you have any further difficulties.
👍: 0 ⏩: 0

This may come to use. Thanks ^w^
👍: 0 ⏩: 1

Well, you are welcome!
👍: 0 ⏩: 0

Yay !!! another suggestion accepted *adding the deviaiton to a special folder in her favorite *
Congrats for your first DD
Keep up your beautiful work
👍: 0 ⏩: 0

haha this is so awesome! thanks for creating this!=-)
👍: 0 ⏩: 1

That is just nice. I'm so taking note of this.
👍: 0 ⏩: 1

It's just NICE? D:
I hope you get good use out of it.
👍: 0 ⏩: 1

I will. you have no idea how useful this is. When I have time I'll use this to draw a map of my world (been writing a fantasy story so far it's over 100 pages and 6 chapters long). This is going to help me do what tolken did; create another worldl (see the appendex of LOTR).
👍: 0 ⏩: 0

very helpful, just a few parts i'm slightly confused on, but ah well, i'll figure it out xD thank you for this ^^
👍: 0 ⏩: 1

Let me know what you're confused on and I'll help you out as best I can. I tried to make it as functionally easy to understand as I could but I guess I've also made a few maps this way and I'm used to how it works.
You're welcome.
👍: 0 ⏩: 1

it's just that i use Gimp and i keep forgetting how different the two are in terms of where things are xD i can't make clouds like that, so i just have to draw them out. that and i was a little confused on how you explained making multiple outlines.
👍: 0 ⏩: 1

If you download the included file, I included a couple of jpgs of clouds like that, so that you don't have to draw them. As for the multiple outlines, you may have to be creative if there isn't a stroke functionality. I suggest something like this:
Select the landforms. Go to a new layer. Expand the selection by say... 5 pixels. Invert the selection, use the paint bucket to fill in with whatever color you'd want the multiple outline to be. Invert the selection. Expand the selection by say... 4 pixels. Invert the selection, and delete the contents of the selection. Invert the selection, expand it by five pixels, invert the selection, dump in the outline color, invert the selection, expand by 3 pixels, invert, and delete. And so on, until you have as many outlines as you want. I usually do decreasing pixels so that it looks like it's fading away but you could use the same amount each time. And my google-fu says that Gimp does indeed have invert selection (control-I) and grow selection (should be in the selection menu).
I didn't specify in the tutorial that Photoshop has a "stroke" function (that creates an outline around a selection) in the edit menu, which was what I was using. Hope that helps.
👍: 0 ⏩: 1

okay, thank you for your help ^^
👍: 0 ⏩: 0

Wow, thanks for putting this together for us.
👍: 0 ⏩: 1

Well, you are definitely welcome! I love sharing.
👍: 0 ⏩: 0
<= Prev | | Next =>


