HOME | DD
 cocobunnie — Tut: Cell Shading Tutorial

Published: 2014-07-13 03:21:54 +0000 UTC; Views: 9279; Favourites: 125; Downloads: 61
Redirect to original
Description
Commission Prices || Custom Adoptables || Open Adoptables || AnimariaHUGE FILE WARNING!!!!!!!
[Finished Drawing ][My FAQ ][More Tutorials ]
A tutorial version of my answer of E-Matt 's question. C:
Art and tutorial (c) me, cocobunnie
Related content


Comments: 40

for some reason i dont have the laso option on the selection tool ;3;
👍: 0 ⏩: 1

Ah, it was separated out a few versions later! It is directly under the select tool now. :>
👍: 0 ⏩: 3
is there a tool to delete the parts i dont want shaded? For some reason i cant use the backspace on my pc
👍: 0 ⏩: 1
Ah, try using the delete button instead! That should work as well. C: If not, I use control+X/cut instead, which seems to work pretty well. Whenever you paste it creates a new layer anywho so if you know you'll need something you can paste it and turn the layer off. Hope this helps!!!!
👍: 0 ⏩: 1
is there a tool to delete the parts i dont want shaded? for some reason backspace doesnt work for me
👍: 0 ⏩: 0
Ohh ok thank you. I think i got it though. It was called lasso lol : ) . anyway i did as the tutorial instructed but i got stuck on the part where i needed to delete the parts where i didnt want shading. Im on pc and tried to use backspace. It didnt work and there wasnt anything else i could use to delete it.
👍: 0 ⏩: 1
Excellent!!! I'm glad you found it!!!
I hope my previous answer helps, you can also try making a custom hotkey/shortcut using the shortcut menu under preferences. (You do have to open that before you open a piece or else it will be greyed out.)
👍: 0 ⏩: 1
Ohh ok thank you ill try ^^
👍: 0 ⏩: 0

Wow this is pretty amazing~ I might just try this out. ^^ Would this also work on Medibang?
👍: 0 ⏩: 1
Thanks so much!!! And yes, yes it would!!!
")
👍: 0 ⏩: 1
Okay thanks ^^ umm just a few questions though when it comes to deleting areas where you don't want shadows, how can I do that? should I use the lasso tool on Medibang?
And how do I get my picture to look all grey? Do I colour my lineart and fill base colours in grey shades first before adding colour?
👍: 0 ⏩: 1
you can use the lasso tool or the draw selection. The best way is just to erase or use the transparent brush. C:
as for getting it to look all grey, that is what it looks like with just my shadows, my highlights and my and my lineart on a grey bg layer C: I tend to do my flats and shading on a separate layer, just so i can see my shadows easier. C: That's what I did here.
👍: 0 ⏩: 1

im confused
im using a PC and I can find the Hue Option
👍: 0 ⏩: 1
Ah, since this tutorial was made it was moved to the filter menu!
👍: 0 ⏩: 0

AH nevermind uwu
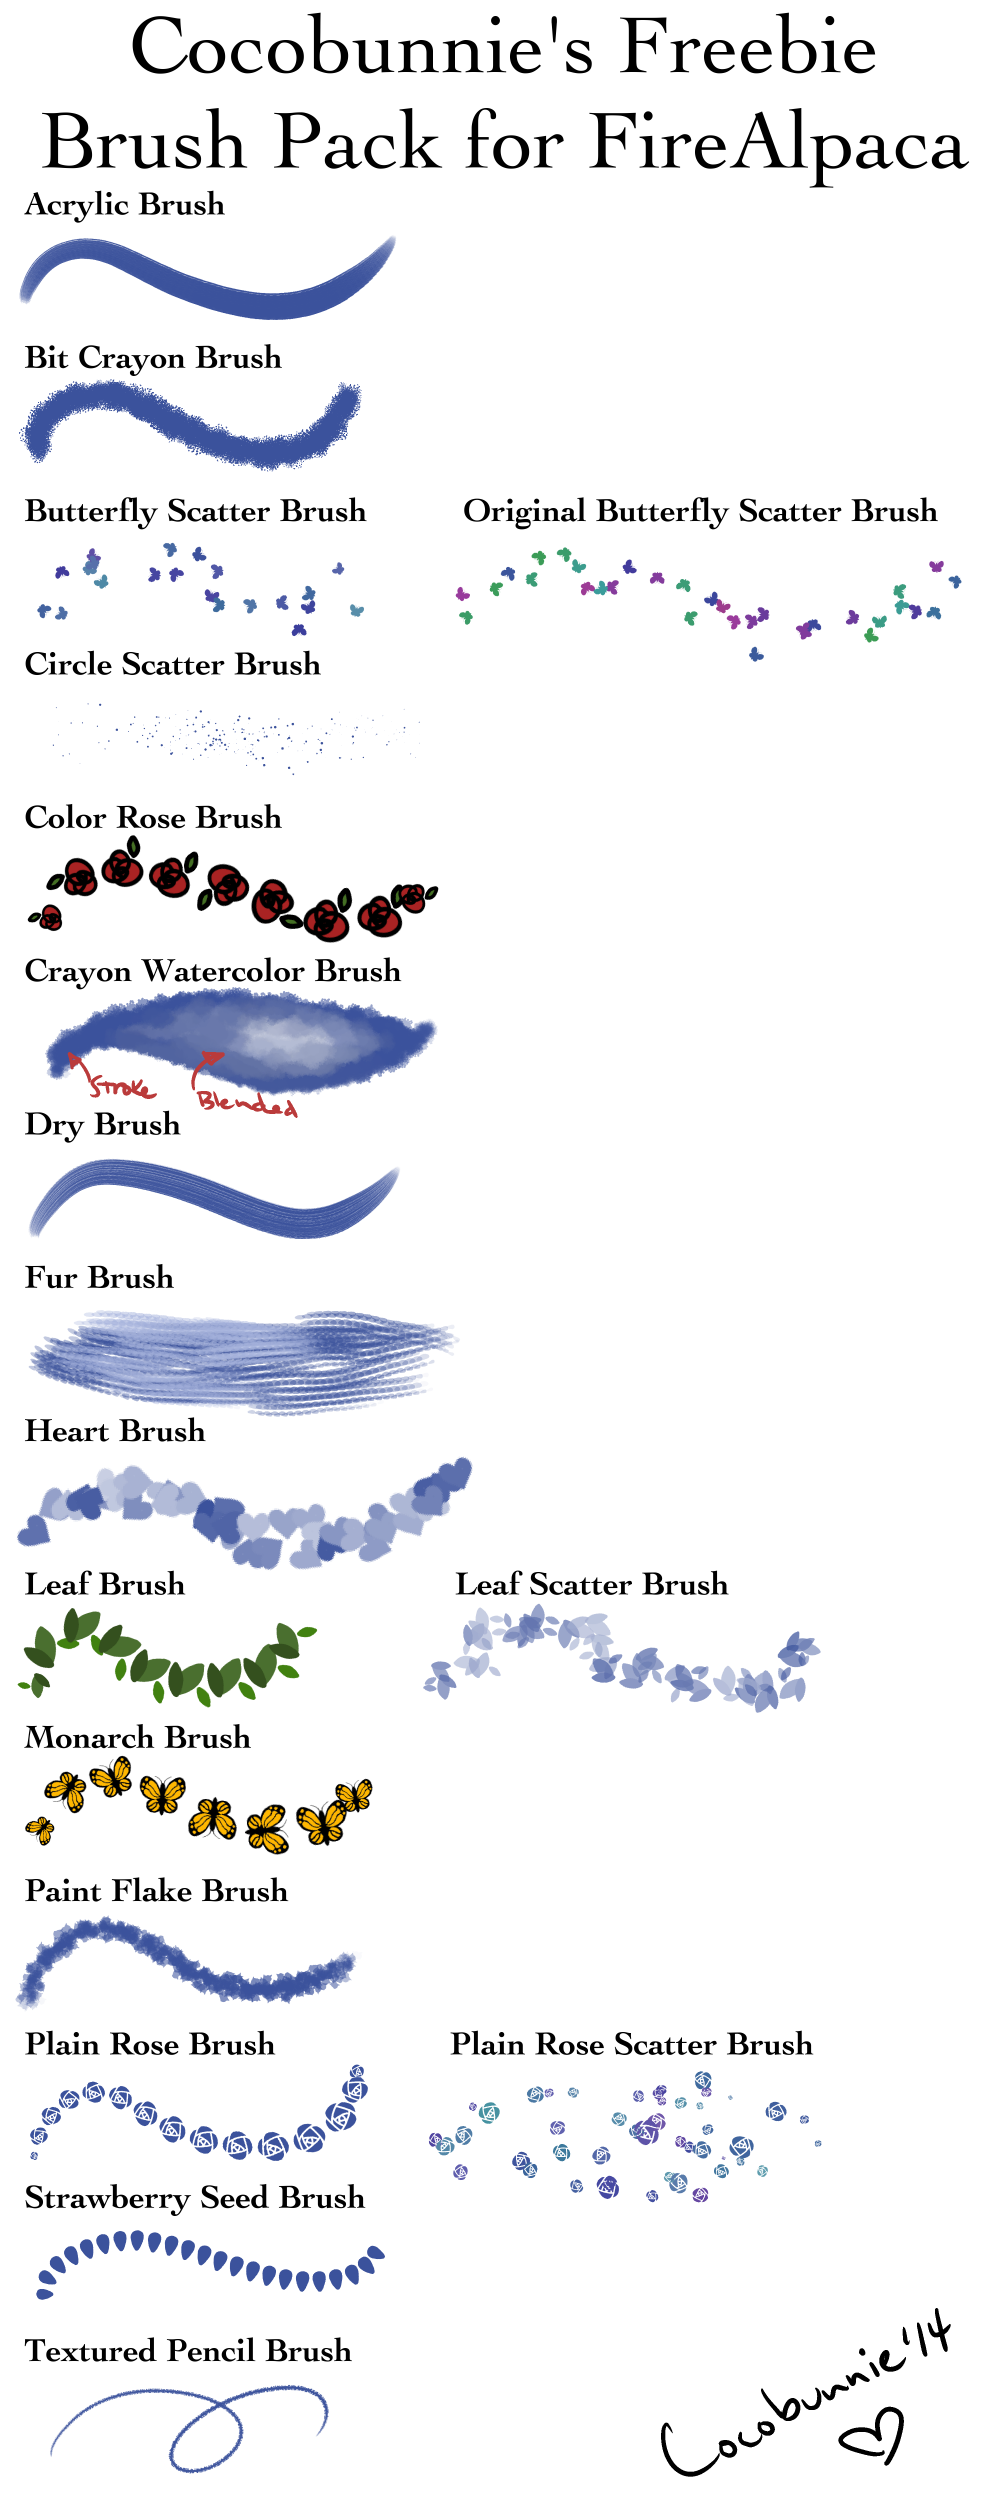
Already found out your freebie brushes <3
👍: 0 ⏩: 1
Thanks for asking anyways!~
If you have any requests or the like, please let me know! >w<
👍: 0 ⏩: 1
Ahh not a problem c:
Have you added that kind of question to your FAQ? I read a bit of it in a rush since I was at school; dunno if you get that question lately.
Sure will! Thank you n_n
👍: 0 ⏩: 1
Ah, I actually haver them linked on my profile page under resources! So I never thought to add it. Maybe I should tho :0
If you have any other questions though I can answer those while I'm at it!
And thanks so much!
👍: 0 ⏩: 1
Oh well, just avoiding you from those kinds of questions. I made sure (quick reading) if there was a question similar to mine, and only found the programs, so that's why. n_nU
👍: 0 ⏩: 1
Ah, it's totally cool! C:
Anything else I can help with? :0
👍: 0 ⏩: 1
For now that'd be it! Thanks a lot <3
👍: 0 ⏩: 1
No problem! You're very welcome!
👍: 0 ⏩: 0
Hmm, where did you get that "Acrylic" and other textures/brushes? If I may ask.
👍: 0 ⏩: 0

Thanks so much! I hope it helps! >w<
👍: 0 ⏩: 0

Voila*
I feel sorry for the poor critter, but hey, this is a really simple, easy-to-understand tutorial~! :3
👍: 0 ⏩: 1
Thanks for the fave!
And don't worry, she's absolutely fine!
Thanks so much! I'm glad you like it! If you have any other ideas for tutorials you'd like to see, feel free to tell me! >w<
👍: 0 ⏩: 1
You're welcome~! owo/
Perhaps you should create a tutorial on how to use the Curve Tool effectively~ It's a relatively new feature.
👍: 0 ⏩: 1
I can do that!
I've been practicing with it a lot, so I'm pretty experienced with it!
Expect it in a few days! C:
Do you know any of the other new features that might need tutorials???
👍: 0 ⏩: 1
Huzzah~! owo/
Hmm, let me go see...
Were Select>Create Selection from Layer/Opacity and Layer/Brightness there before? owo"
The Vanishing Point snap also confuses me. ^-^"
👍: 0 ⏩: 1
Woohoo!
And I don't quite understand the create selection from opacity either, but I imagine it works a lot like a Mask. That one will take a while longer since I still need to figure it out, but once I understand it I'll whip something up! >w<
And what exactly confuses you about it? That way I know where to start with it. C:
👍: 0 ⏩: 1
Errr, probably the purpose of it. ono"
...And how it differs from Radial Snap. ^-^"
👍: 0 ⏩: 1
Mostly it's just guidelines for drawing environments and panels. I find the other snap tools more useful, myself. C:
I'll definitely be breaking all of them down in a tutorial, but here's the short version, from left to right:
Off - Turns all snapping features off. Use for free drawing.
Parallel - Used to make parallel lines. Best uses are probable for rough panelling in comic, using in combination with the radial snap (5) to do 1 point perspective
Crisscross -
Vanishing Point - Used to do 2-3 point perspective. Best for doing backgrounds or environment pieces.
Radial - Used to make lines radiating from a single point. Best uses are for patterns with radiating lines and using it in combination with the parallel snap (2) to do 1 point perspective.
Circle - Used to make quick and easy circles! Will come out the neatest out of all the other ways to make circles in firealpaca
Curve - Used to make curved lines. Just pop some points along a presketched curve, and bam! All done.
Snap Setting - Used to reset whatever snap tool you are working with. For Parallel it resets the slope of the line, for vanishing point it resetse both points, for radial and circle it resets the center, and for curve it allows you to plot new points. It does NOT work with the crisscross snap tool.
All of these are pressure sensitive too! C: I can't think of anything else special except the stabilizer/correction settings, but those are already covered in my FAQ . I could add those to the tutorial though. :0
👍: 0 ⏩: 1
Thanks so very much! ;w;/ I'll try my best to remember, ahaha...
👍: 0 ⏩: 1
Don't worry, I always put up answers to questions like that up on my FAQ. C:
That way you can find it whenever you need too. C:
👍: 0 ⏩: 0

Thanks!
LuckySquid had bullied me into trying it, and oh my god it is BEAUTIFUL
👍: 0 ⏩: 0