HOME | DD
 davidyardin — Ms Marvel Step 5
Published: 2009-05-19 00:00:29 +0000 UTC; Views: 9544; Favourites: 179; Downloads: 475
Redirect to original
Description
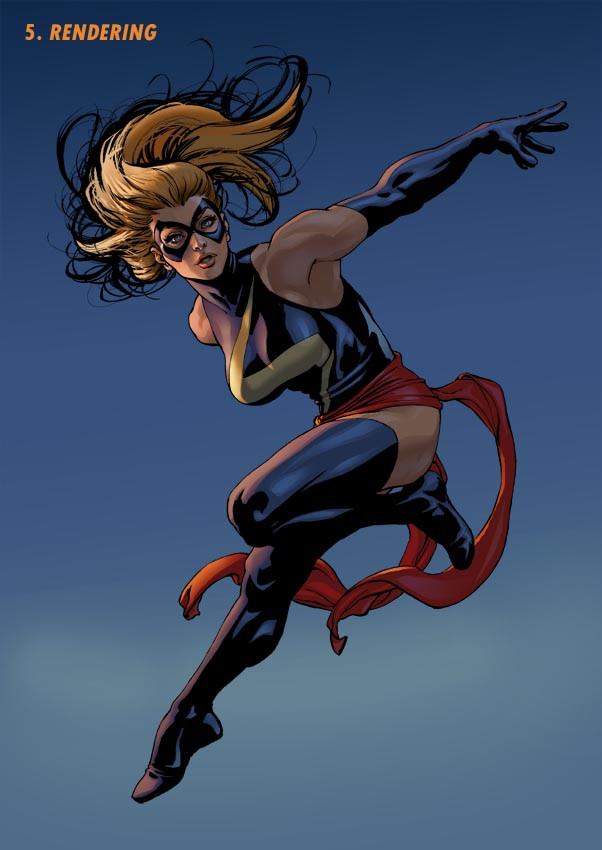
Step 5. RenderingOnce I have the flats done I start rendering the figure. Using the lasso tool I start selecting areas (cuts) to use the brush tool on. I used a combination of screen, and colour modes for the highlight areas, and darken, colour, and screen modes for the shadow areas (I sometimes outright pick the colours myself too). The important part here is not only creating the form, but creating depth with tone, and saturation, and also choosing the right colours. If you're not sure about colours that work well together, grab a colour wheel from an art store, or look one up online (or make one.. didn't we all in high school?). For my screen colours I was originally thinking in terms of just a simple complimentary colour scheme of blues and oranges, but enriching the orange screen with reds and yellows, and the blues with cyans I think I ended up with more of a double complimentary (Tetradic).
Related content


Comments: 7


I should do a bit more of an in depth tutorial (maybe a video) progressing from flats to finished rendering.
👍: 0 ⏩: 2

hey, what you did was pretty indepth, but i would watch the video....lol
👍: 0 ⏩: 0

That would be very much appreciated!
")
👍: 0 ⏩: 1
