HOME | DD
 Destro2k — howto edit a 3d model - part 1

Published: 2011-10-15 16:53:49 +0000 UTC; Views: 2797; Favourites: 15; Downloads: 49
Redirect to original
Description
ok, before you get too existedi know this is not "that" tutorial what you expected
but it show you the basic what "i" have to do
when i wanna build a papercraft model from a 3d model
i say "i" because it's my method
i don't know if it's "the best" ore not
i just know
it work
 (Wink)")
i will not explain how to rip a model ore how Photoshop ore the other programms work
there are enough tutorials out there
 (Smile)")
it is also just a part of the whole thing
because i will do this "walkthrough" until Gomamon is done and ready to build
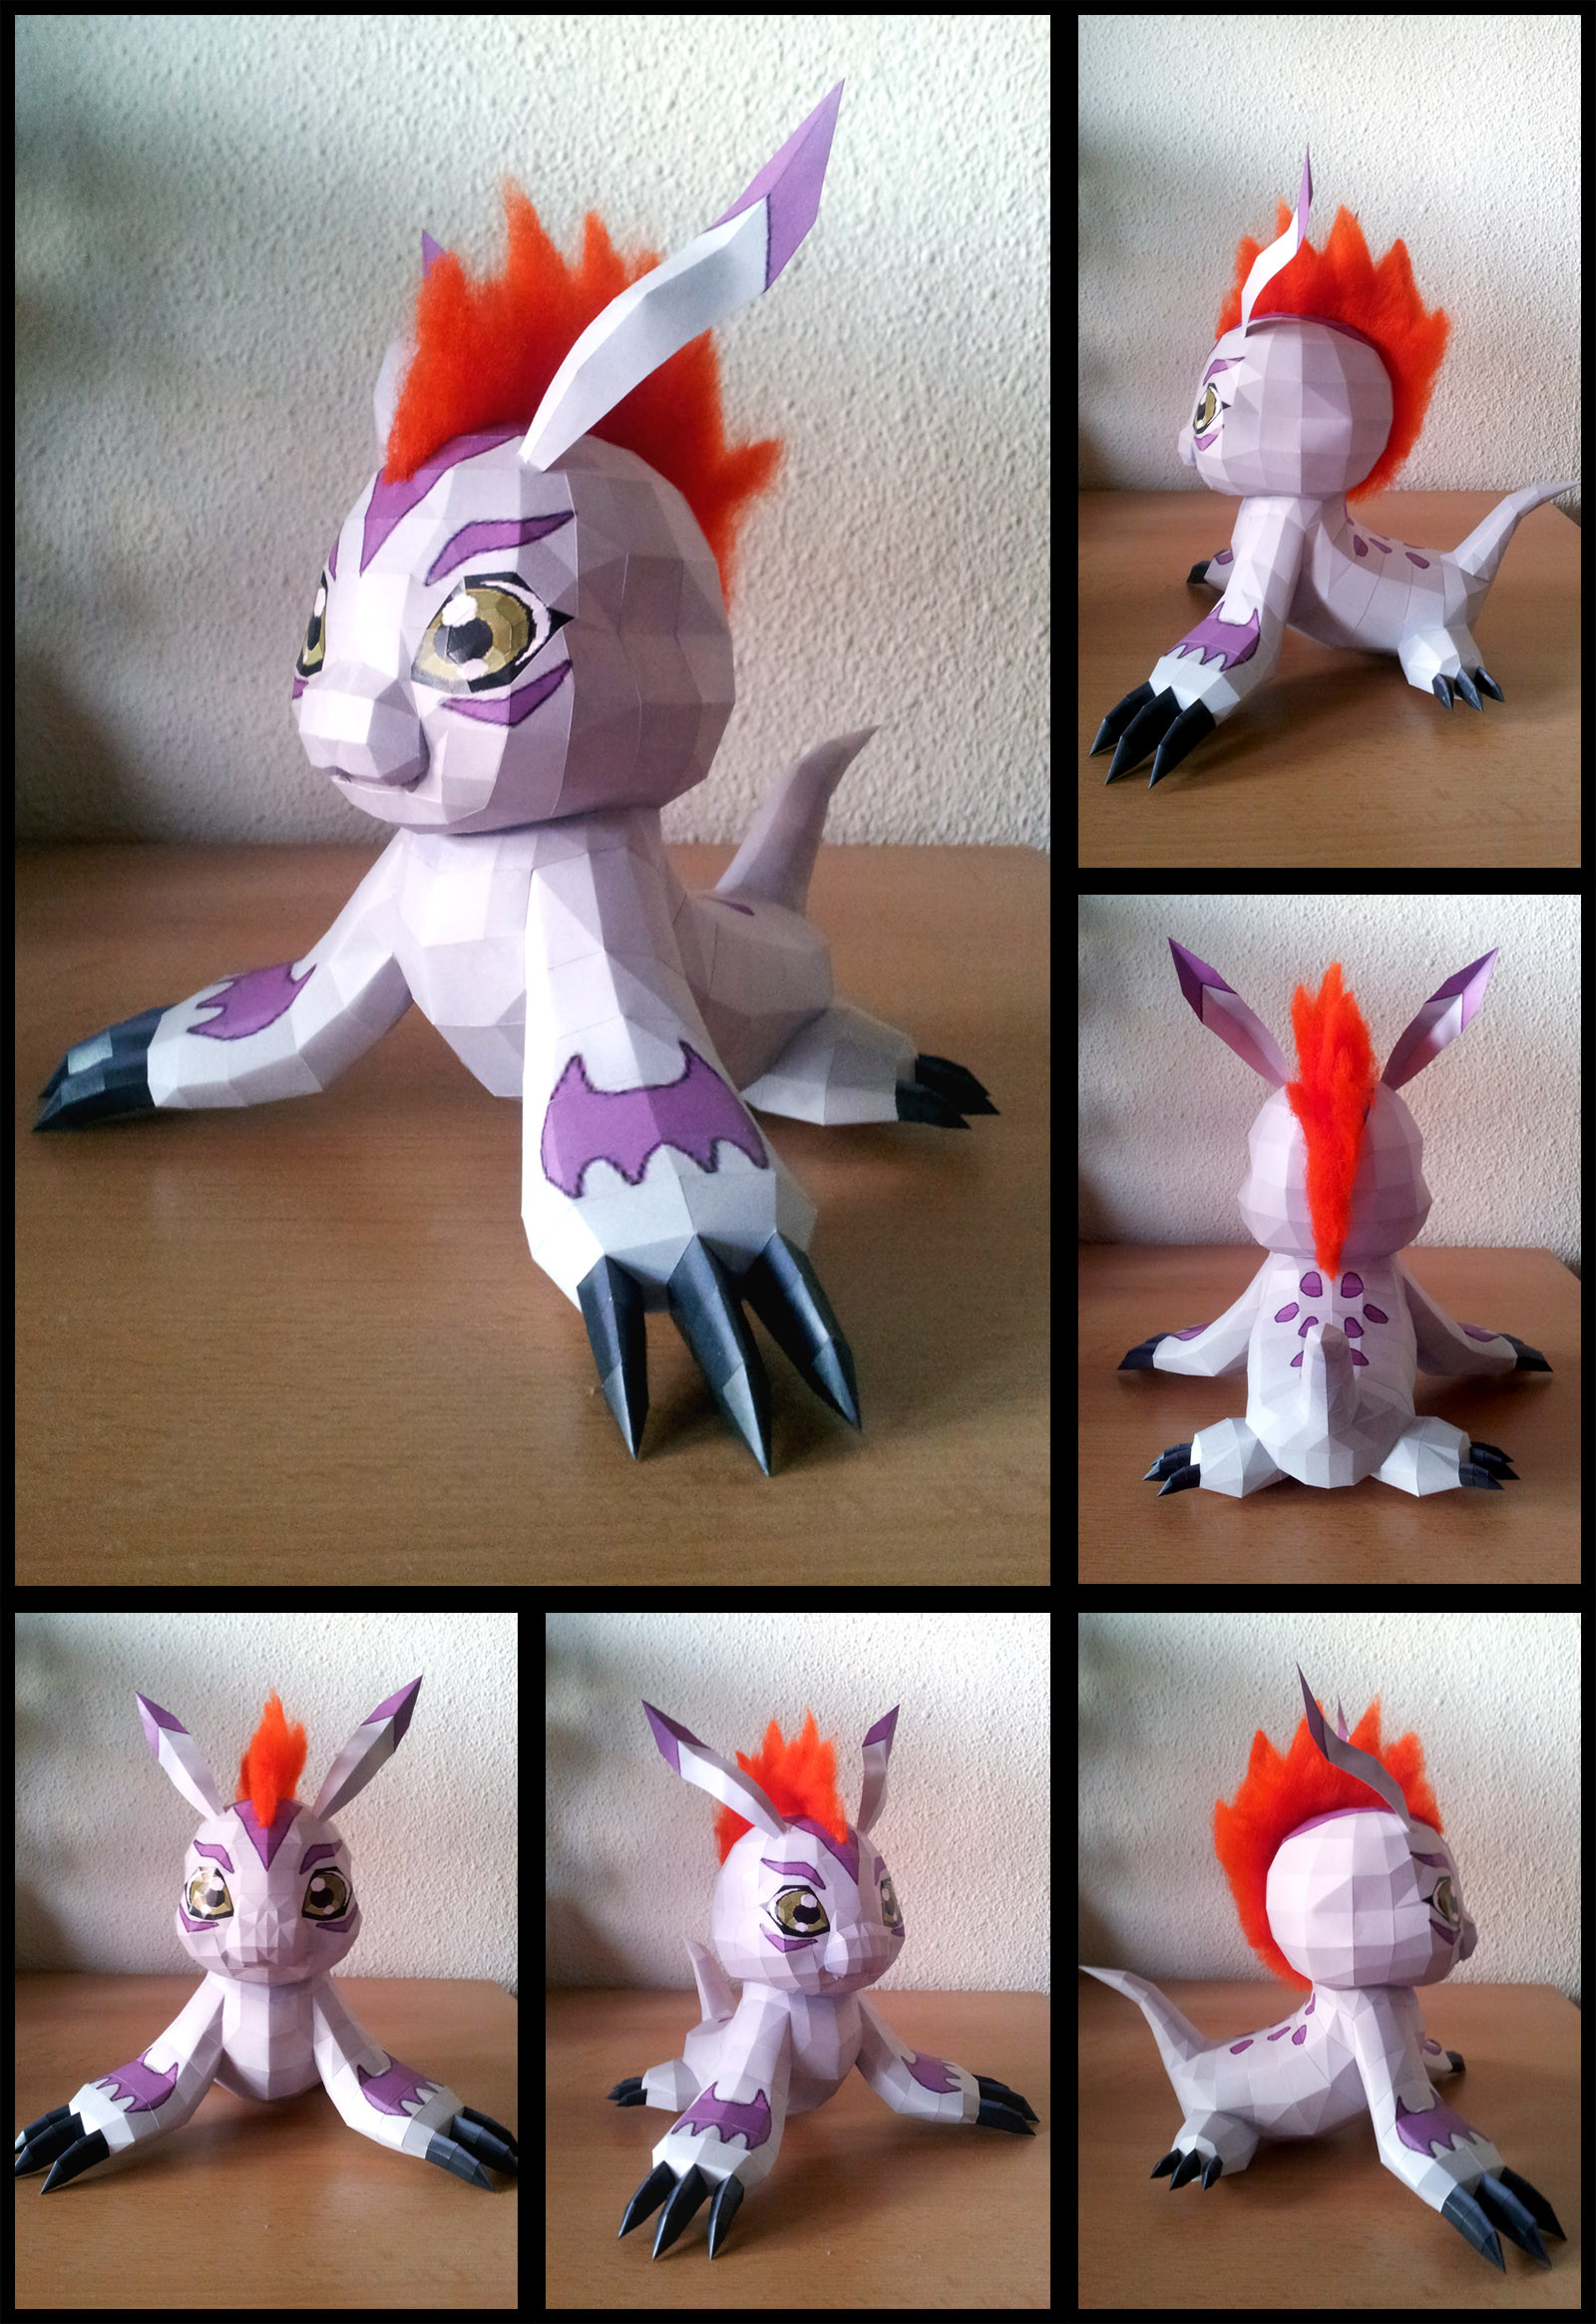
i choose Gomamon why this model contain the most problems what i always have
object which are merged together, single attachments and buggy polygones
also i don't wanna punch you down with a huge model like the big sister
")
what i'm doing here counts only for gomamon
because every model is different
not every method work on every model
sometimes you have to think around three corners ore simple cheat that it work
if you have questions
pls pls pls ask
for this walktrough i'm using Metasequoia
a freeware 3d editor what you can download here
pic1
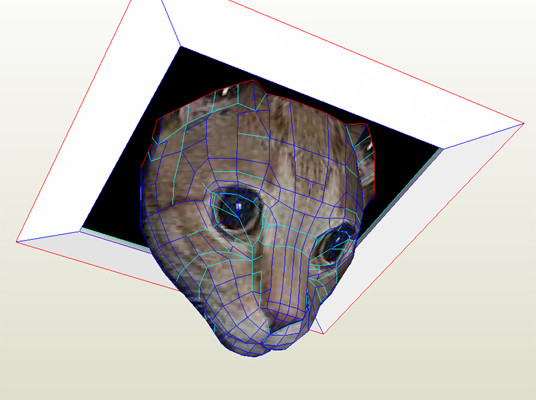
ok, i allready opened the model file and selected the body
pic2
here i rotated and moved the model to the horizon
pic3
for me always the first step
seperating the single objects
sometimes you are not able to select whole objects
then just click on "Object - join closed vertices"
pic4
first steps of the simplification
i removed the backside of the teeth and the ears
pic5
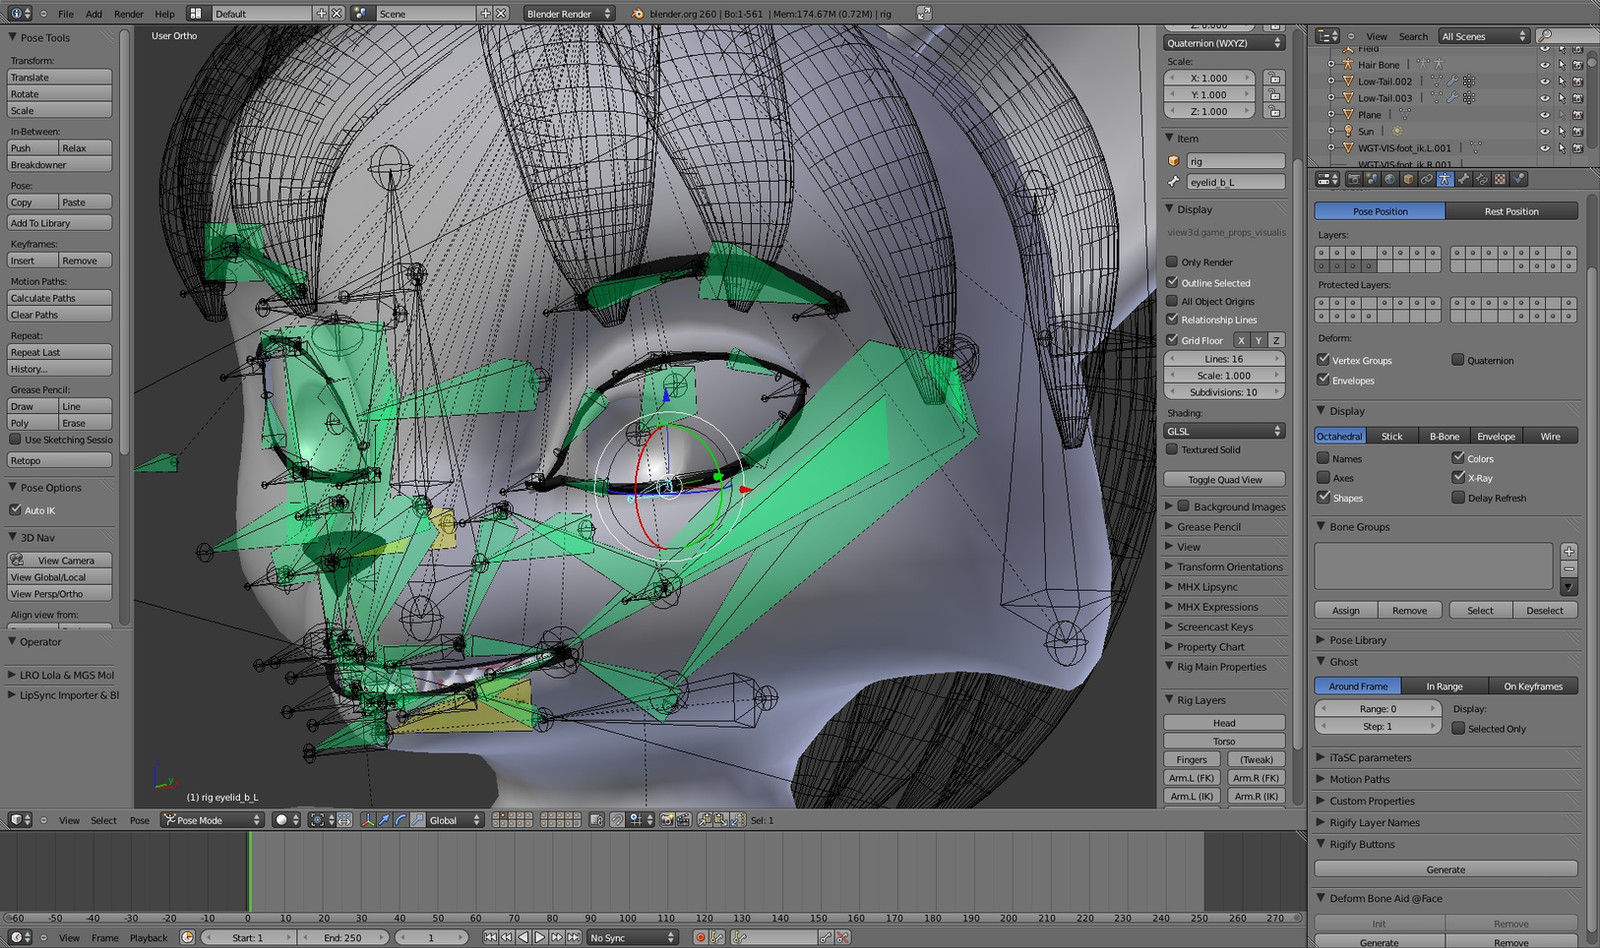
because i seperated the eyes from the torso i can work on the objects without touching the others
here i rebuild the eye at the torso layer
with a more easier mesh
problem here
the texture don't work anymore
pic6+7
that's why i have to cheat a bit
i made a new texture layer with just the right eye
pic8
same for the left eye
now the original eyes are useless, so i deleted them
pic 9+10
can you see any difference ?
at pic10 i removed quite the half of the hair pieces
and there are still enough that it looks like the original
still a lot to do
i just started
Related content


Comments: 8

is this a tutorial?
und wie bist du an das passende programm gekommen?
👍: 0 ⏩: 0

This is great, please make more tutorials! I'm just starting out with making my own 3D papercraft and am interested in how others do it. I've been building my 3D models from scratch as i'm not sure where is the best source for 3D models - and as i'm new to 3D modeling this cleanup as you describe here is quite hard!
👍: 0 ⏩: 2

new tutorial is out [link]
just to let you know
👍: 0 ⏩: 0
well true, it's not easy and this is based on quite over a year of trying testing and building
i posted allready in the other comment
it's a learning by doing thing
👍: 0 ⏩: 0

Thanks, I have been searching for such a tutorial for a long time!
👍: 0 ⏩: 2
new tutorial is out [link]
just to let you know
👍: 0 ⏩: 0
thanks
i hope it's ok in that way
i want to hold it simple
with greater steps
when i had to explain every simgle step
this tut probably blow the dimensions of the background idea
there are a lot things to do and you have to work with a lot things
it's also a learning by doing thing
as always


👍: 0 ⏩: 0