HOME | DD
 GavinMichelli — Superman Progression
Published: 2011-03-10 16:48:10 +0000 UTC; Views: 2070; Favourites: 41; Downloads: 80
Redirect to original
Description
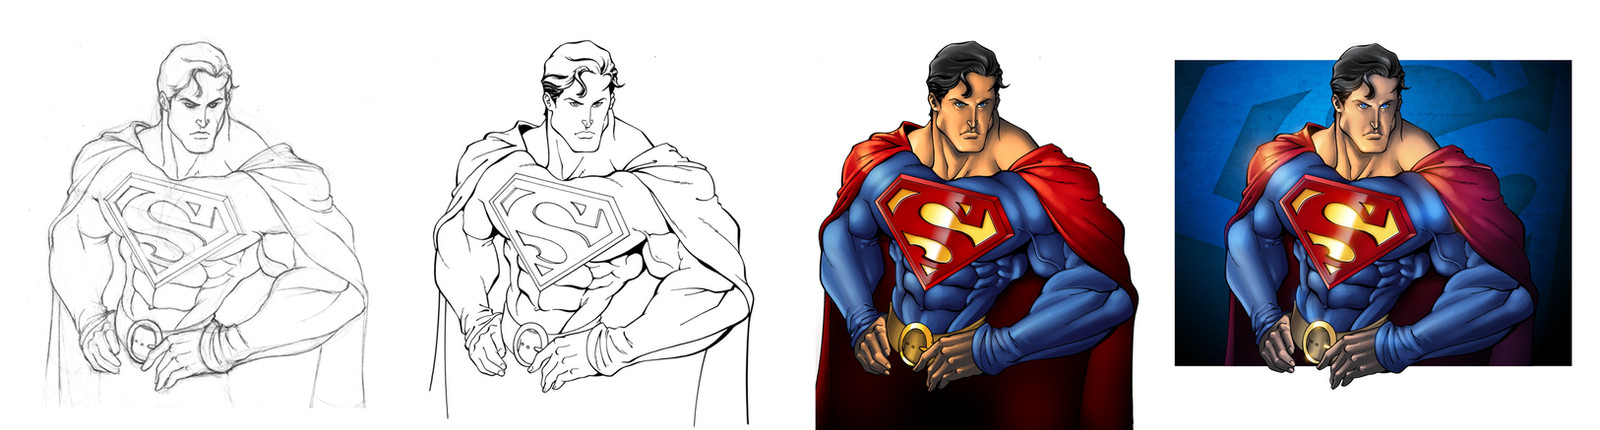
For those of you interested in the steps I take to produce teh artz (Smile)")
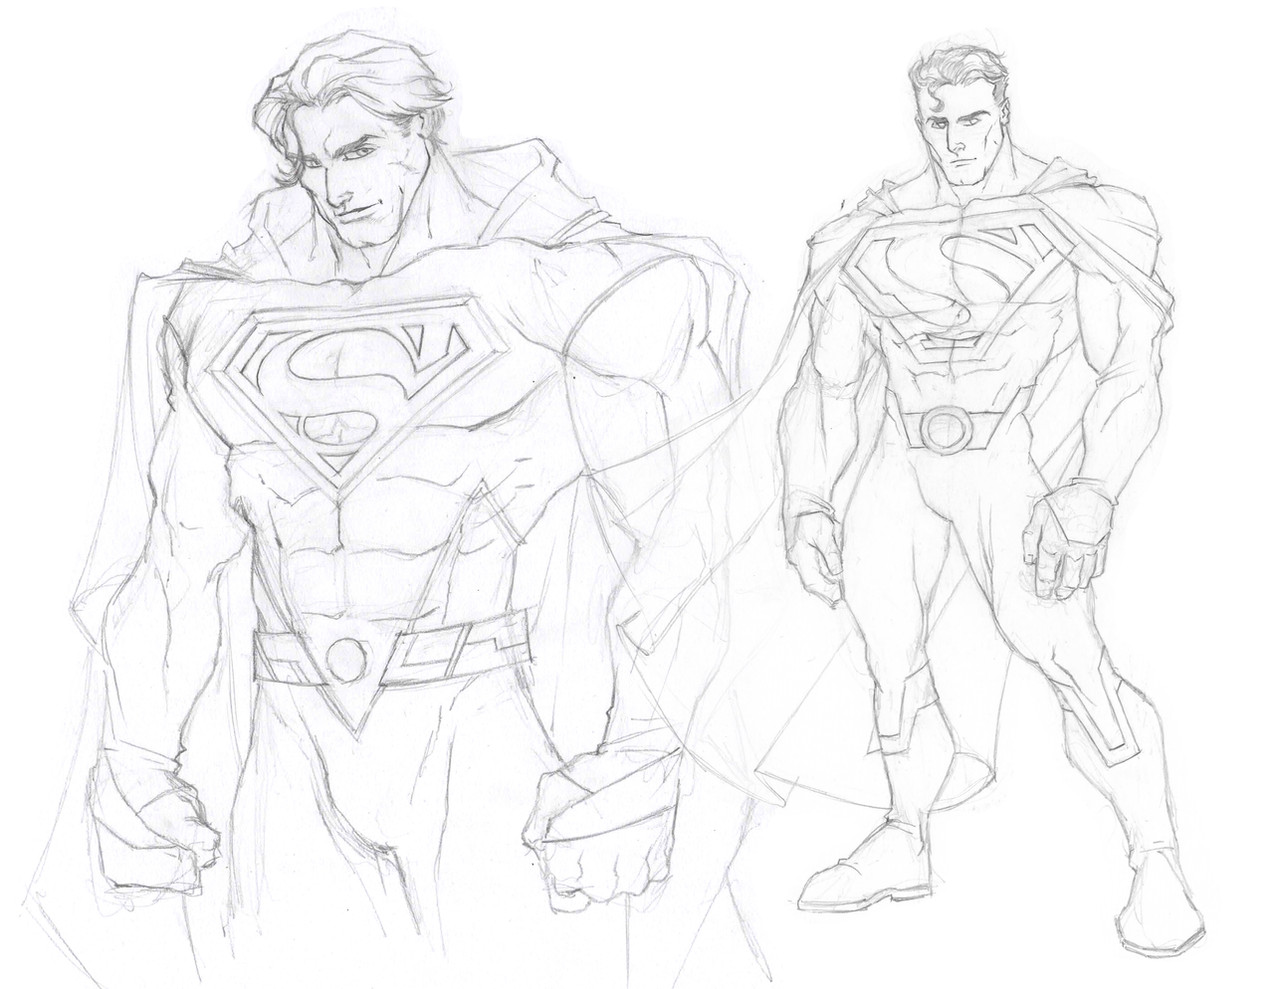
1. Pencil drawing. I never go straight to digital, although some people can do it no sweat. I'm just not to that point yet. For this particular drawing, I used a photo ref from a magazine.
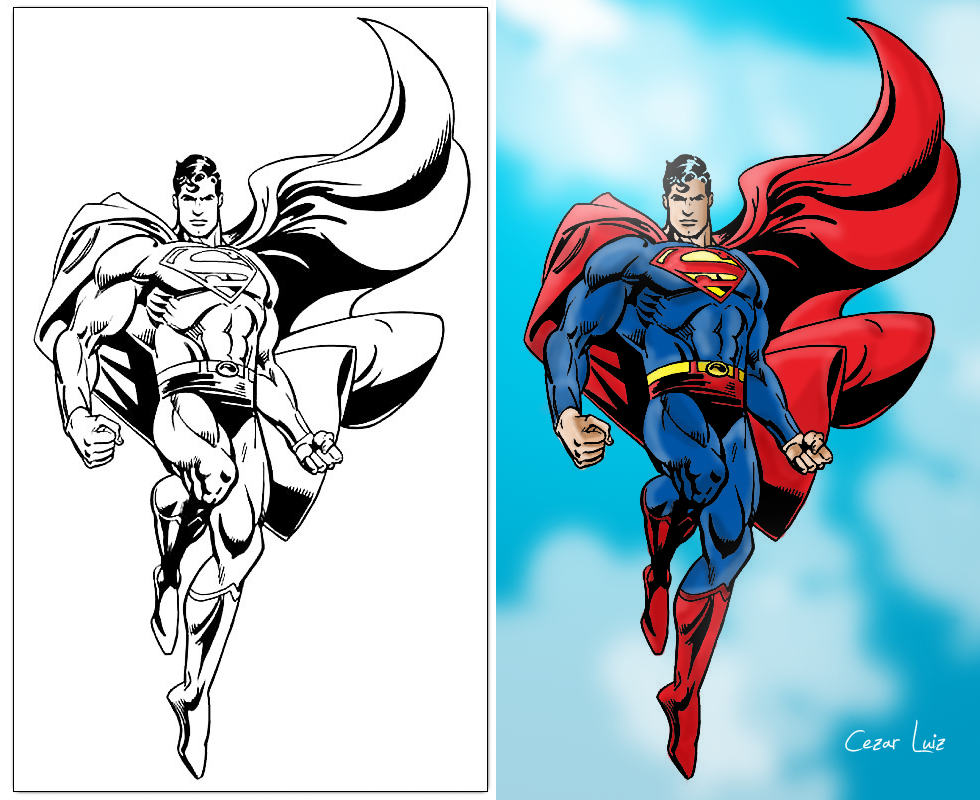
2. Inks, in this case provided by the uber-skilled . I've had the privilege of watching him ink several times, and he uses a sable brush for lines. He also uses Micron pens for straight lines, like that S shield.
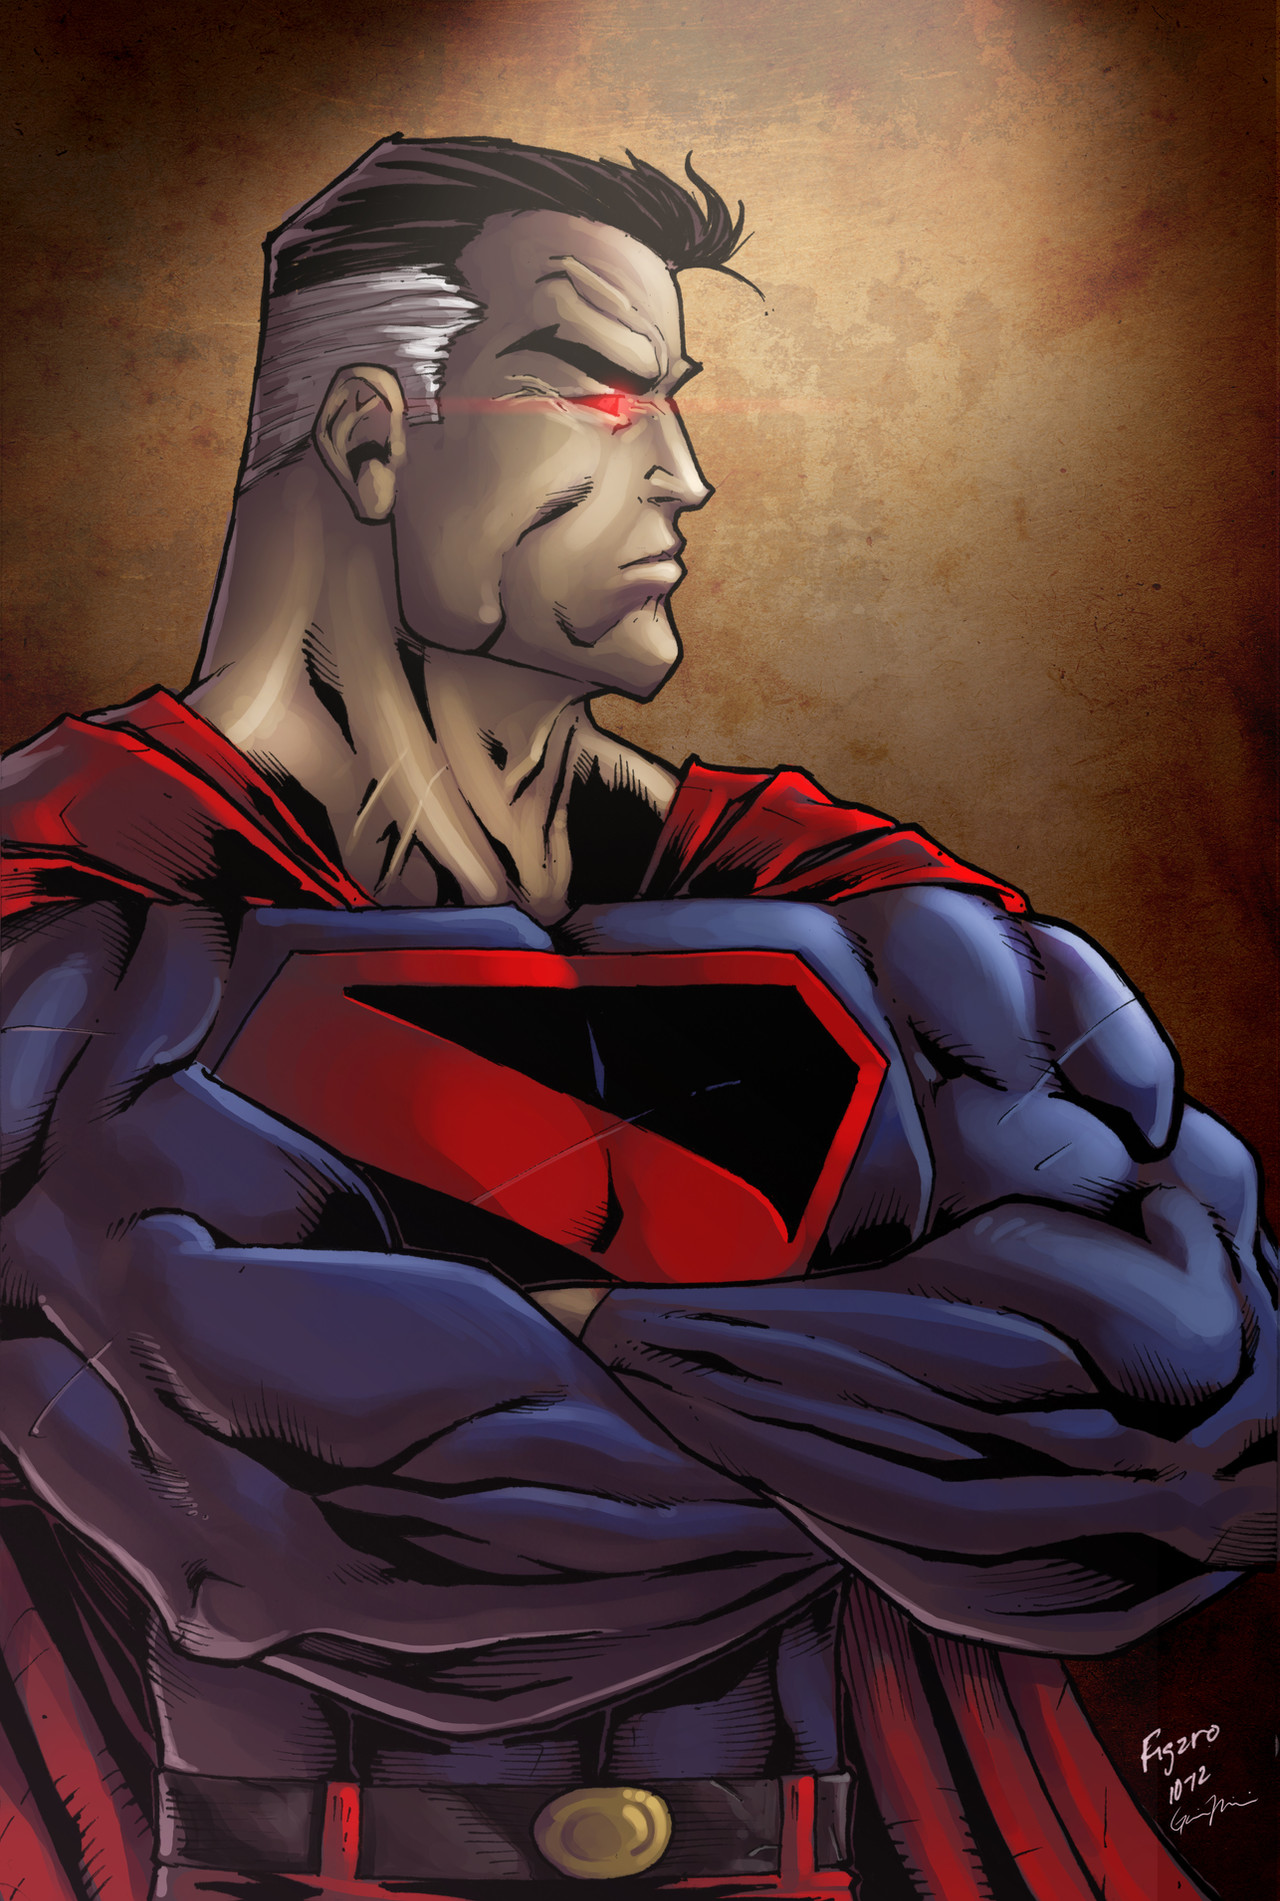
3. Colors in Photoshop. I lay out my flat colors first, using the darkest value I'm going to use. Then, to render, I just add highlights. A lot of people start with the middle value and add both highlights and shadows, but I've found that I get better results this way.
4. At this point, I add all the glowy shiny stuff on a "screen" layer above the line work. Also, I added a blue radial gradient overlay set to "hue". I also like to tweak my highlight and shadow colors at this point using the color balance option. I usually go for warmer highlights and cool shadows, but that can change depending on the palette.
Well, that's about it. My methods are constantly changing as I learn new techniques, so I never really color the same way twice, but this is the approach that I took for this piece. I hope this helps some of you guys!
Related content


Comments: 8


")


Nice Thanks for the pointers. There are so many artist that wont take the time to share how there art work becomes so great. Then there are those who share what they know and encourage those coming up behind them. Great job you rule!
👍: 0 ⏩: 1

I'm an open book, man. If you're interested in anything I do, all you have to do is ask
 (Wink)")
👍: 0 ⏩: 1