HOME | DD
 WhenWolvesCryOut — Head tutorial --NOT FACE--
Published: 2010-05-21 21:10:16 +0000 UTC; Views: 2162; Favourites: 9; Downloads: 22
Redirect to original
Description
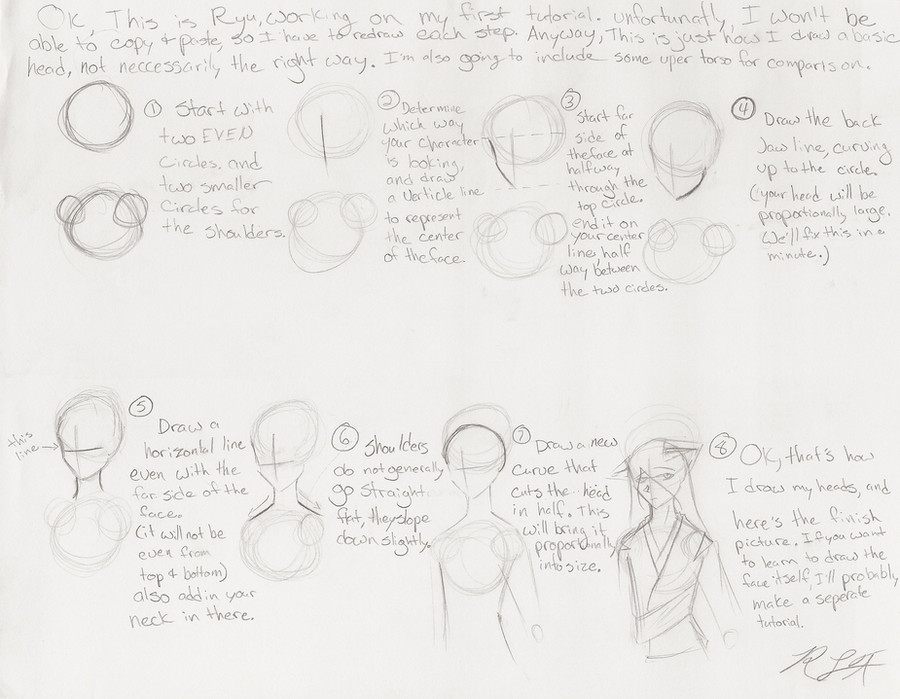
TEXT ON THE DRAWING ITSELF MAY BE DIFFICULT TO READ, AND IS ONLY WHAT I COULD FIT IN THE SPACE PROVIDED. BELOW THE STEPS ARE TYPED AND GO INTO MORE DETAIL._______________________________________________
If you want to see the full size, click the download link to the right. (Here's a tip. Click it with your Scroll-Wheel/Middle Mouse Button [if you have one], and it will open it in a new tab.)
_______________________________________________
If this helps you in anyway, leave a comment saying so. It's always nice to know I helped someone ^^
_______________________________________________
A quick kinda tutorial thing I drew up in class, since Rano said about her heads always being too big.
This is just how I do my heads in 3/4 view, not necessarily the correct way to do it.
(and, since I did it in class, I couldn't do any of the handy little copy and paste that most people use. had to draw out each step individually, starting at scrap for each one. Don't know if this makes it worse or anything, but anyway.....
1) Start with two (or three if you're doing the whole body) even circles. Then, at the top corners, add two smaller circles, have the one that will face away from you (in 3/4 view) slighly closer to the center than the shoulder closest to you. This will keep the perspective of the further shoulder looking slightly smaller.
2) This one's pretty easy. figure out where the center of your face is going to be, and simply draw a vertical line there. The line can be slightly curved, but even just a little too much curve can throw it off, so try to keep it as straight as possible.
3) Ok. Now.....fine the halfway point vertically (up and down) on your circle and draw a small small line down, slightly curving inwards.
(On my drawings, the end of this line is generally even with the bottom of the main circle, and leans towards the center as it goes down, but again, this is just how I do it, not how you have to.)
Then from there, draw a curved line that meets with your vertical line. Where these two meet, should be roughly halfway between the two large circles.
4) now, from that intersection, draw a curve up to the circle. This will not be even with the right (or left, depending on direction) edgeof the circle. Ever. Not in 3/4 view anyway. The head is not flat in the back. Don't believe me? feel the back of your head. It curves in as it reaches the neck, doesn't it?......ANYway....it will touch almost to the edge, but be sure to leave some room (don't put it halfway between the edge and your vertical though, that's too far away from the edge)
4.5) QUICK NOTE: At this point, yes. Your head will look too tall. We'll fix that though.
5)Ok, remember that curve we drew from the center of the circle (indicated by the arrow) ? well, now we have to draw a horizontal (left and right) across your face, starting from the center of the curve.
Also you'll want to add the neck at this point. Necks are not skinny twigs, they wouldn't be able to support the head if they were. The closer neck line will be near where the jaw meets the circle again. The further one will be just past the point of the jaw.
6) From the end of your neck lines, connect them to your two shoulder circles. These will be your shoulders themselves. *Shoulders do not got flat left to right. Then slope down slightly. In my drawings, that slope might be exaggerated a bit, but it gets the point across.*
7) Now we will fix the too-tall-head. your your fingers (or anything) to measure the distance from your Horizontal line and the point of your jaw. then make a mark of that same distance above the horizontal line.
Now make a new curve for the top of the head that goes through that point. This will make it so that the head is slightly smaller and that the eyes (which will go on that line, as seen in 8) will be halfway between the top and bottom of the head.
*I added some on the body, but that's not what this tutorial is about, so I'm not really going to go over it*
7.5) Once you have that new curve drawn for the top of the head, you should be ready to go. You'll be less likely to oversize the head, and you have your horizontal and vertical line to help you position the face correctly.
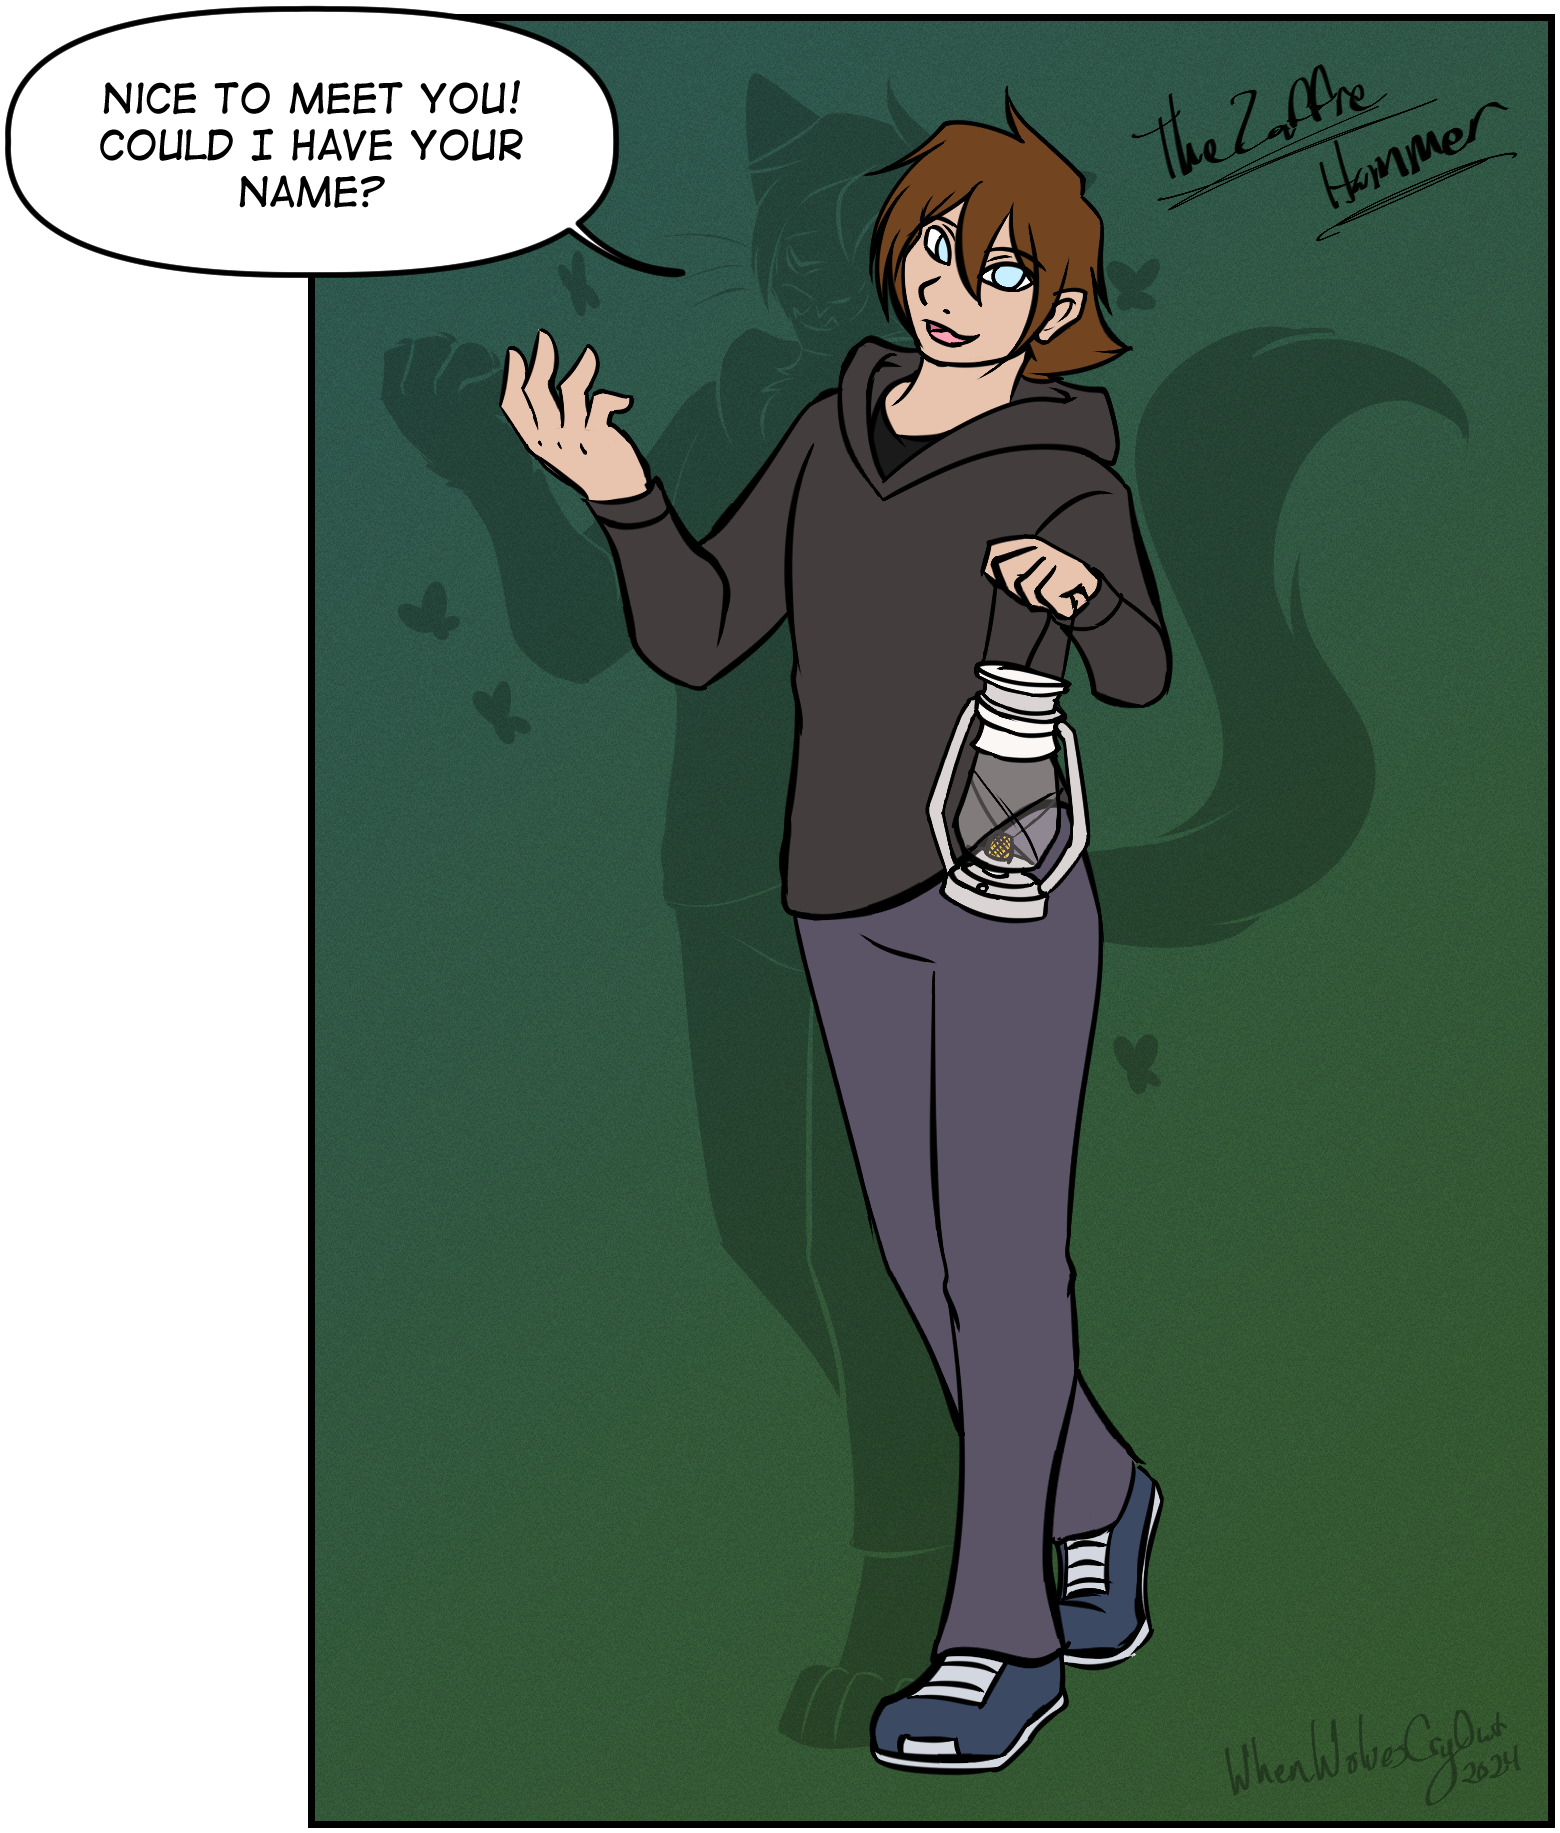
8) Ok, that's it. You've got your head. Here I have a finished....sketch of Calibur. Mainly to show you how it will proportion out and how the face will fit onto the head and lines you just drew.
*Again, since this is just a head tutorial, I'm not going to go over how to draw the facial feature themselves.*
_______________________________________
Art ©
Calibur © :iconwhenwolvscryout:
Related content


Comments: 2

Ffff I saw what I was doing right away- I use ovals instead of circle because I never want the heads to be too small >.>
This is gonna help me out a lot, thanks so much
")
👍: 0 ⏩: 1
