HOME | DD
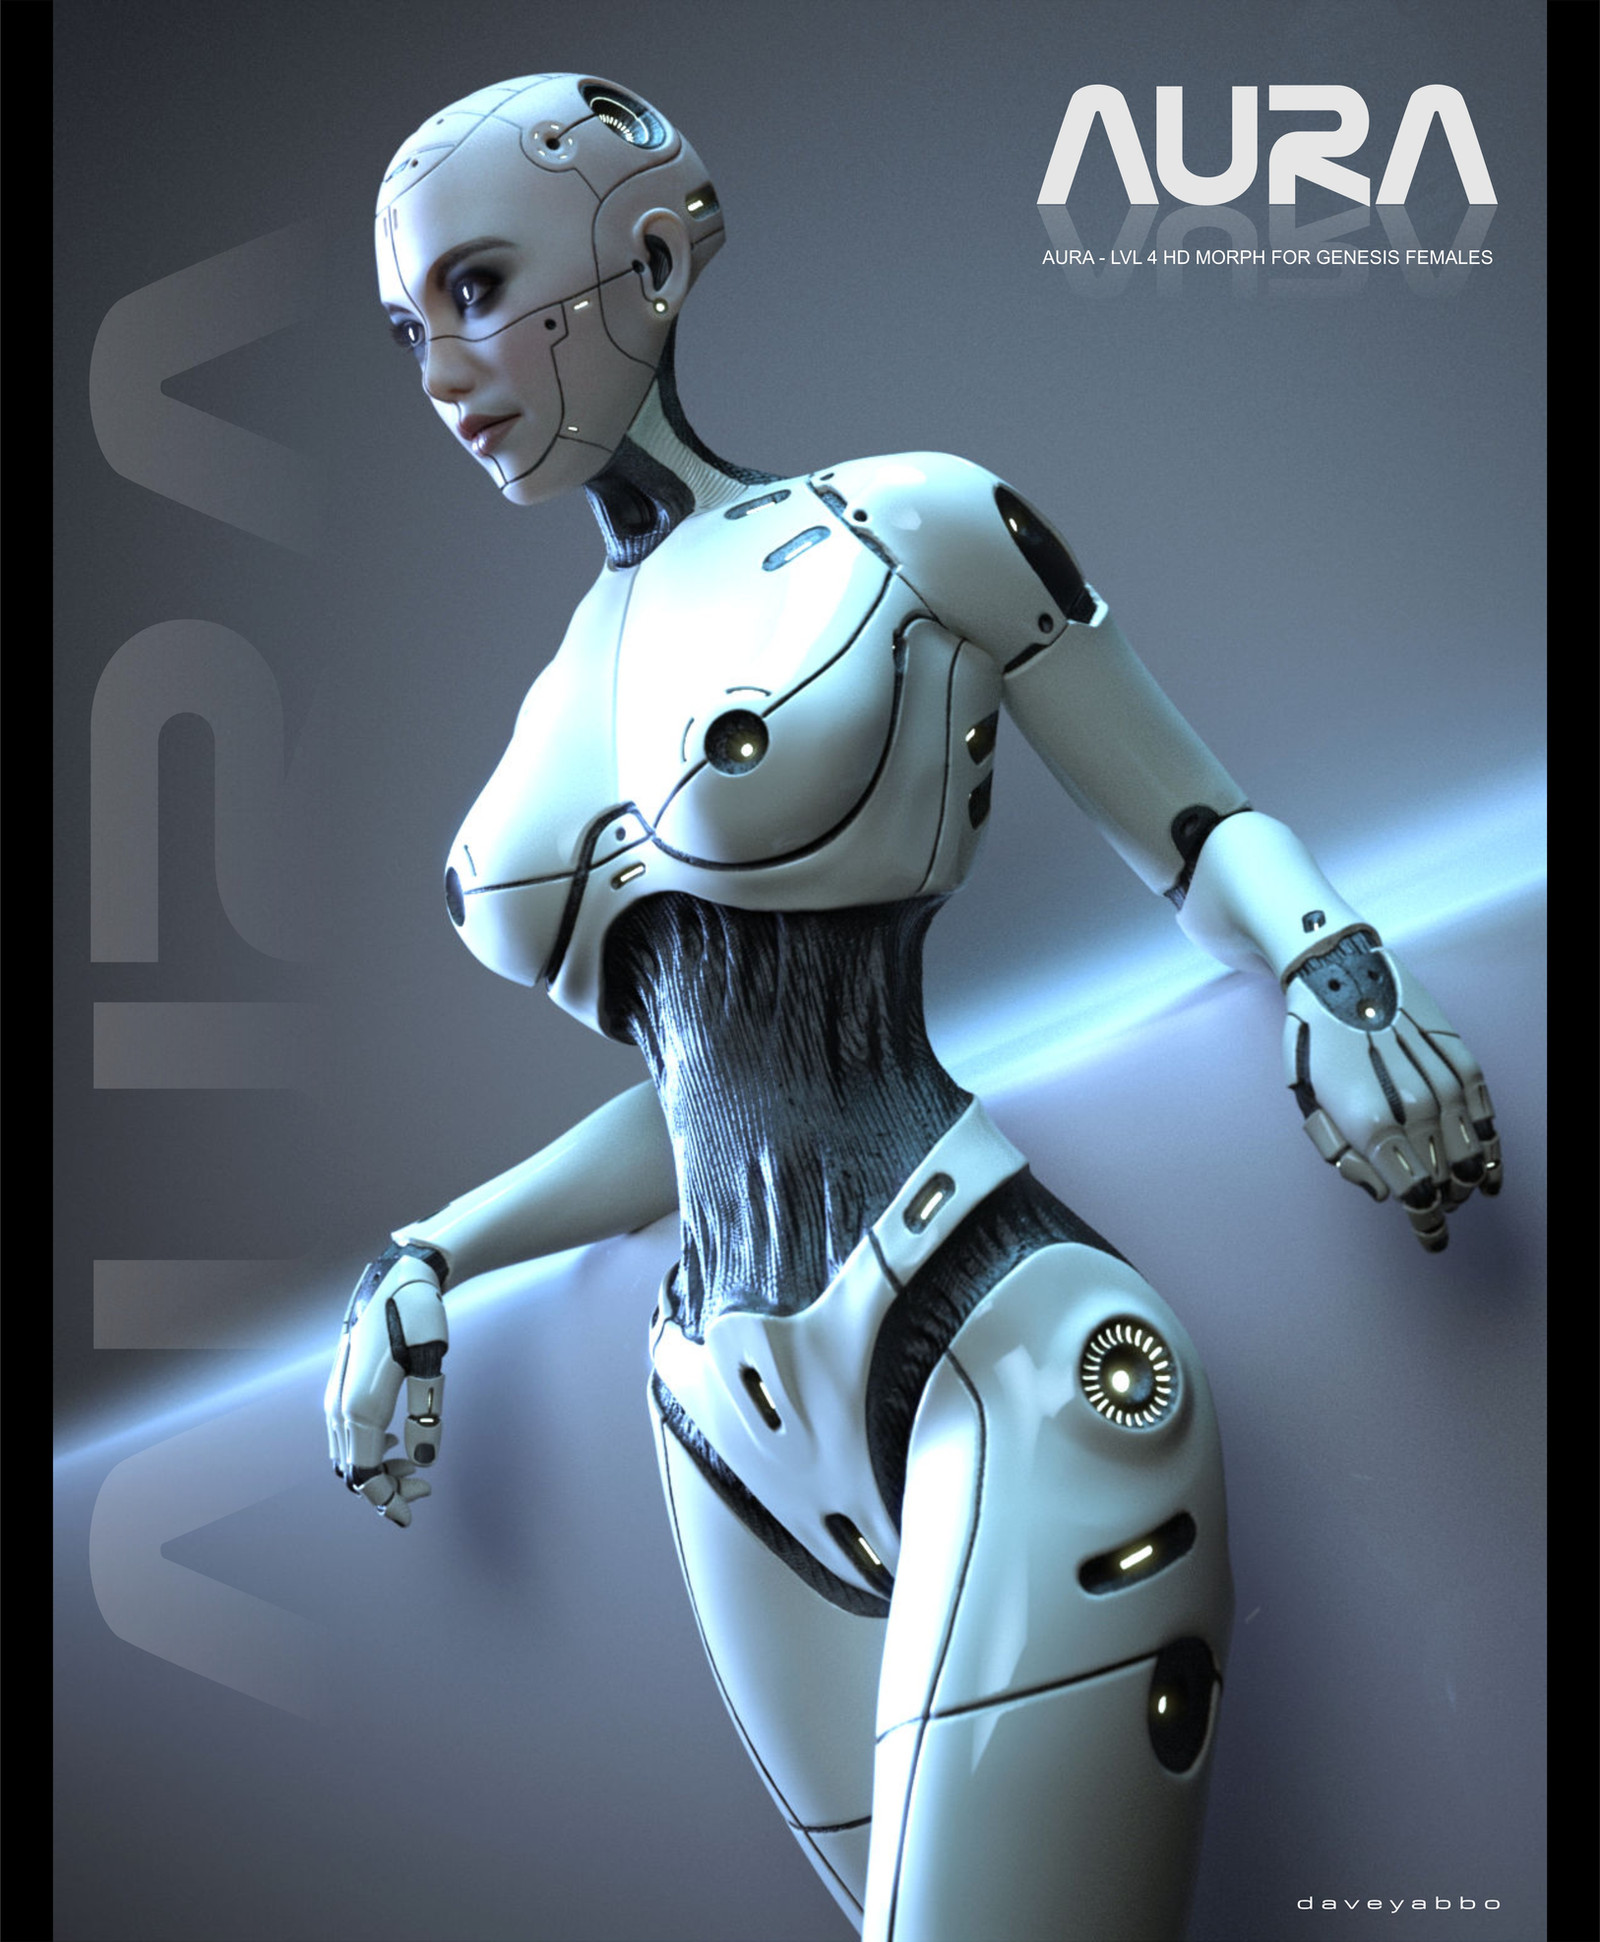
 Raxatech — Raxatech APC15 - Gynoid Edition
#3d #ai #android #artificialintelligence #dazstudio #droid #gynoid #hd #highresolution #iray #mirror #reflection #hiresolution #irayrender #cyberpunk #cyberpunk2077
Published: 2017-01-11 05:36:20 +0000 UTC; Views: 45833; Favourites: 306; Downloads: 495
Redirect to original
Description
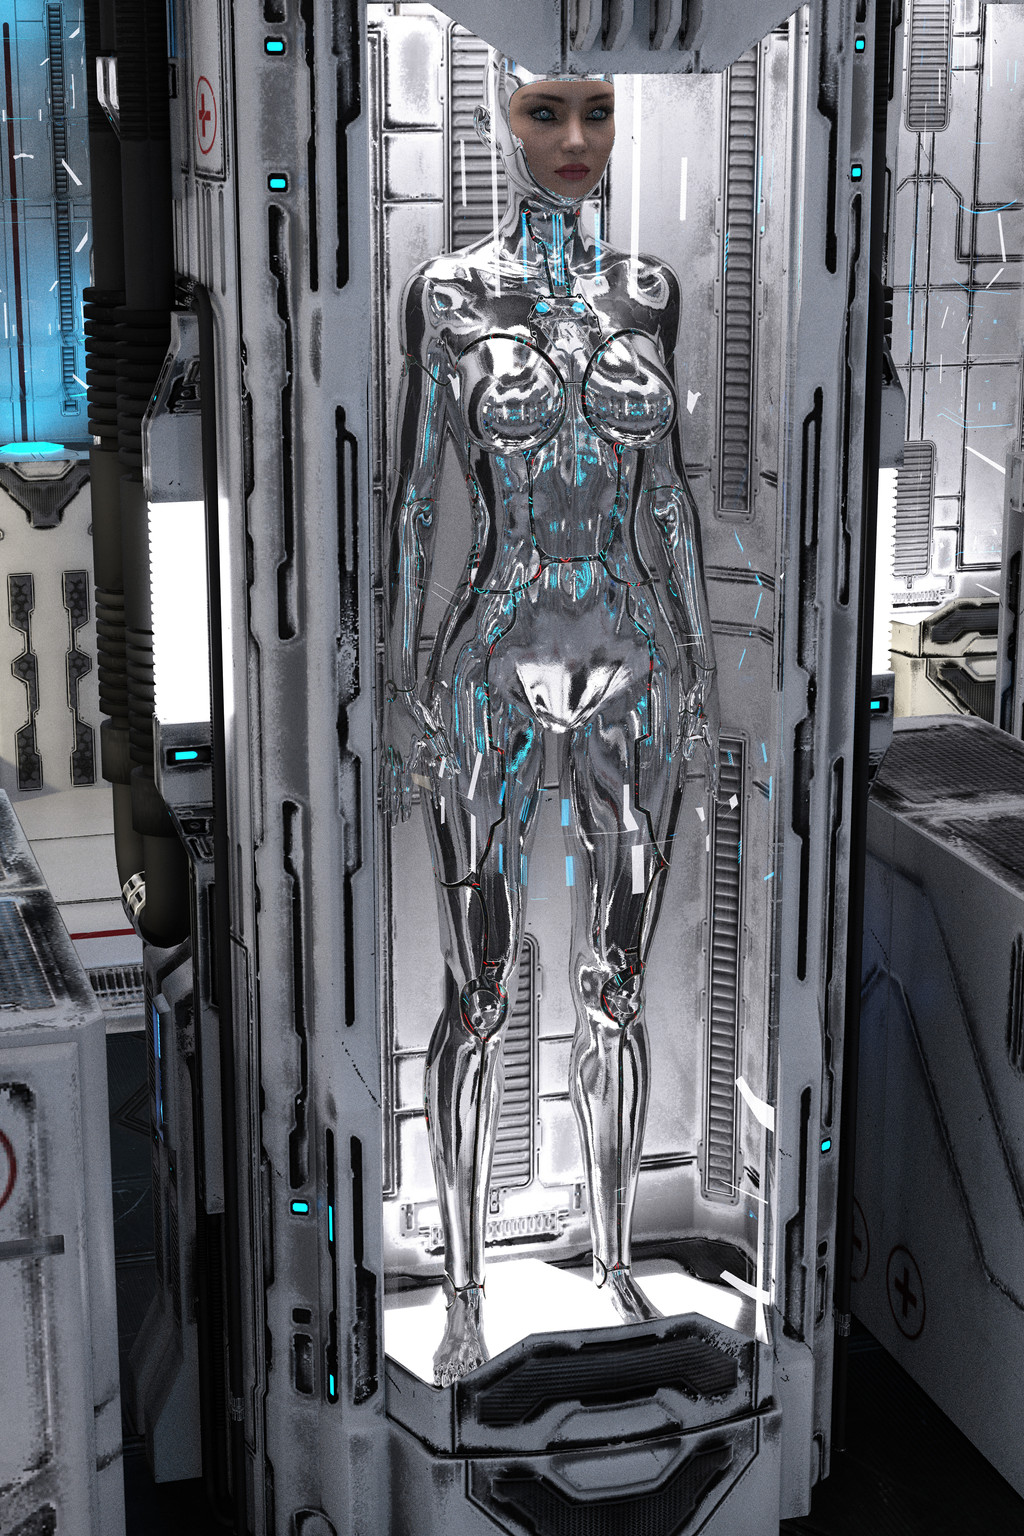
This is the chrome gynoid version of APC 15. This was the result of several hours of manual surface work. After this version was finished, I discovered a much simpler method via using a geoshell. (Instructions in comments below.)Alternate Versions
Mature Content
Software
Scene Composition: Daz Studio 4.9.3.166
Rendering: Iray in Daz Studio 4.9.3.166
Postwork: Photoshop CS4 (Texture Work)
All 3D assets licensed through Daz Productions, Inc. unless otherwise noted.
~Raxatech
Related content


Comments: 26

👍: 1 ⏩: 0


She's Puuuurty! XD
The flesh face helps here...you can easily read it at a glance. (The mirror chrome one has a hard time in that area.)
Faved for inspiration!
Be well.
Greg
👍: 0 ⏩: 1

Yes, the expression can be lost with all of the reflections. It might be interesting to use your other suggestion for a brushed metal on the face only to see how that affects visibility of the emotions.
👍: 0 ⏩: 1
Hm. I wonder if you could set up a specularity control map (or a reflection control map) for the face. You might be able to use that to 'panellize' the face (to a degree), and dial the reflection down around the facial features.
Might further 'mottle' the surface and add a slight 'paneling' effect to it.
YMMV.
👍: 0 ⏩: 0
Thanks again. I'm back after a break and am working on some more lovelies for you all.
👍: 0 ⏩: 0

No worries at all. Love Gynoid art.
👍: 0 ⏩: 0

Love this! And thanks for the instructions below...
 (Cool)")
👍: 0 ⏩: 1
You're absolutely welcome. The geoshell is definitely the easier route though the manual touch did end up producing some lovely shine.
👍: 0 ⏩: 1

Loving the different models we can choose from! This chrome version, is deliciously glossy ")
👍: 0 ⏩: 1
At some point, I'll figure out the polling feature and post one to determine the overall favorite version. Each one has something unique and it was a very interesting process to develop all the variants. I'm glad you enjoy it.
👍: 0 ⏩: 0

INSANELY gorgeous though it looks, I'd have to think about it before roboticizing myself...
👍: 0 ⏩: 1
I can understand why you'd think that at first, but you'd be surprised how many people change their minds after a personalized visit from a Raxatech representative. You probably haven't considered all of the benefits. Here, why don't you have a look at this hypno-screen...
👍: 0 ⏩: 0
I'm glad it meets with your approval. There will definitely be more.
👍: 0 ⏩: 1

Ah okay, but overall loving the high quality and detail for the renders.  (Smile)")
 (Wink)")
👍: 0 ⏩: 0

Nice!!!! Where did you get the shiny chrome bodysuit texture from? I've been looking for something like this for a while now!
👍: 0 ⏩: 1
The easiest route to recreate what I did would be to purchase Pix - Synx by Pixeluna , Traveler and its UberSynx Expansion which has a chrome option.
In my particular case, I only own the Synx base. I had unfortunately forgotten about the expansion's existence when I set about creating this effect by hand. For my version, step one was to create new arm, leg, face, and torso textures to provide a solid black base for everything besides the circuits and the face. Then I manually adjusted surface settings, spot rendered, rinse, repeat, until I was happy with the result. Surfaces need to be converted to Iray (Library->Shader Presets->Iray->Daz Uber->!Iray Uber Base) to see all these options.
Final Surface Settings
Metalicity=1
Base Color=Custom Black Base Image
Glossy Layered Weight=0.24
Glossy Color=White(1.00,1.00,1.00)
Glossy Reflectivity=1.00
Glossy Roughness=0.66 with Diffuse Map for Image
Metallic Weight=.75 with Diffuse Map for Image
Metallic Flakes Color=White(1.00,1.00,1.00)
Metallic Flakes Color Effect=Scatter & Transmit
Metallic Flakes Strength=0.010
Metallic Flakes Density=15+
It should be noted this was a manually intensive route which I wouldn't recommend unless you were interested in discovering more about what each material option does. If you have a different character which doesn't have a pre-made chrome option, I'd recommend to following instead:
Geoshell Instructions
1) Select the figure.
2) Create a geoshell (Create->New Geometry Shell) and parent to selected item.
3) Select the geoshell.
4) Open the surfaces pane and select all the surfaces of the geoshell.
5) Apply the Daz Iray Silver Shader (Library->Shader Presets->Iray->Daz Uber->Metal - Silver).
6) Select the Cornea, Eyelashes, EyeMoisture, EyeSocket, Irises, Pupils, Sclera, Teeth surfaces and set Cutout Opacity=0. (Or turn those nodes Off under Parameters->Geometry Shell 1->Shell->Visibility.)
7) Use Photoshop or gimp to create opacity image maps for exposing the figure underneath. The amount of Grey determines the level of Transparency. (White=Opaque, Black=Invisible, 50%Grey=50%Transparent) In the case of Synx, I was able to use the Diffuse maps as Opacity Maps.
I wish you the bet of luck. Let me know how it turns out.
👍: 0 ⏩: 1
Sorry I'm just now replying to this, but thanks for the tips! I just recently got the Pix-Sync base and the expansion, and I've been playing around with it a bit. I've got my character to look chromed out, but I'm still having troubles figuring out to properly light my scenes as well as rendering to a decent size. I've had what I thought were renders ready to go, yet they rendered teeny-tiny...like icon size.
I've watched quite a few Youtube vids and tutorials on several things, and I've just haven't really had a lot of time to play around with things like I would've liked to. But I'm coming along!
👍: 0 ⏩: 1
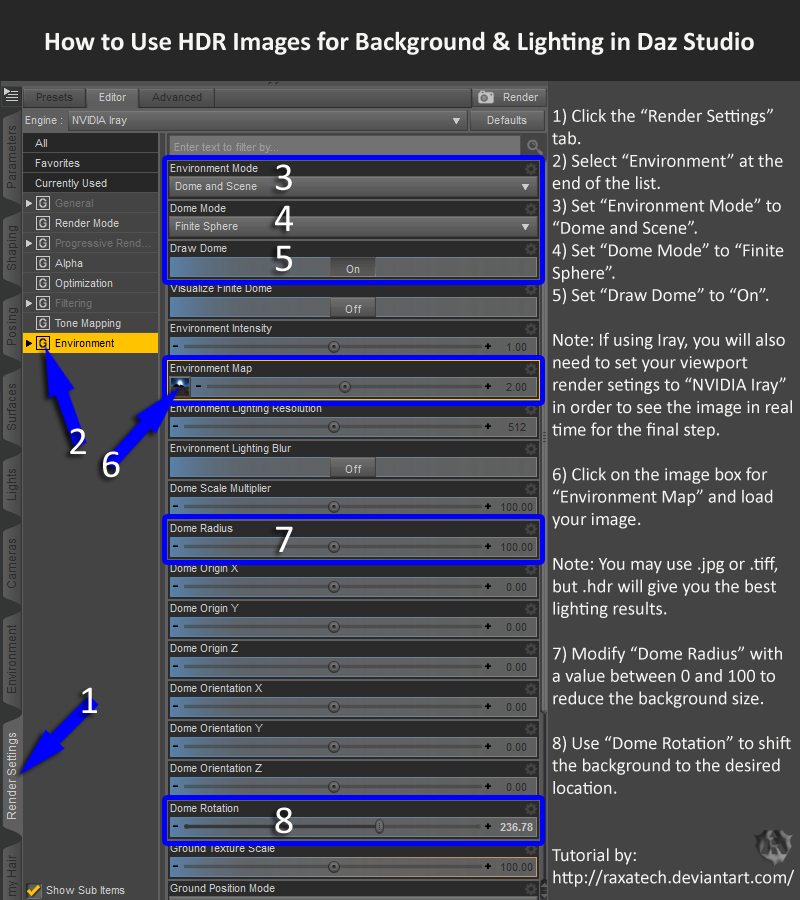
The final image size should be controlled on the "Render Settings" tab under the "General" options. There you can adjust the "Aspect Ratio" and/or "Pixel Size". Most of my images are rendered at a massive 6666x9999 (or 9999x6666) and are then scaled down by 2/3rds to 4000x6000 (or 6000x4000). If you find yourself changing these settings often, you may find it helpful to save some presets.
1) Navigate to "Render Settings" -> "General". (If you don't see this option, select "Window" -> "Panes(Tabs)" -> "Render Settings".)
2) Select "Custom" from "Dimension Preset".
3) Adjust the "Aspect Ratio" and/or "Pixel Size" to your liking. Not that changing the aspect ratio will automatically adjust your pixel so I normally adjust that first.
4) Click the "Save" button next to the "Dimension Preset" selections.
5) Follow a naming convention that you can use to easily tell each one apart. Examples: "Spot 2:3 500x750" or "Full 2:3 6666x9999"
For lighting, SickleYield has some great advice in the journal entry below.
[Tutorial] Three-Point Lighting In IrayI've covered this at more than sufficient length elsewhere, but I still get asked about lighting in Iray, so I wanted to do a quick set of text basics for those who have trouble ferreting out the relevant bits from the videos.
Here is a reference set of lights and a Sunny 16 preset you can download and use for practice. These are the lights I use as starters in 90% of scenes now. If you want to know more about tone mapping I've gone into that here as well.
THREE-POINT LIGHTING: WHAT IS IT?
Wikipedia covers the photographic theory of three-point lighting here, if you would like to know more about that. The short version is
👍: 0 ⏩: 0

Indeed. I spent quite a bit of time upping the shine a step at a time by playing with each surface dial. I ended up finding an easier solution (Raxatech APC15 - RaxaBot Edition ) but I did learn quite a lot.
👍: 0 ⏩: 0